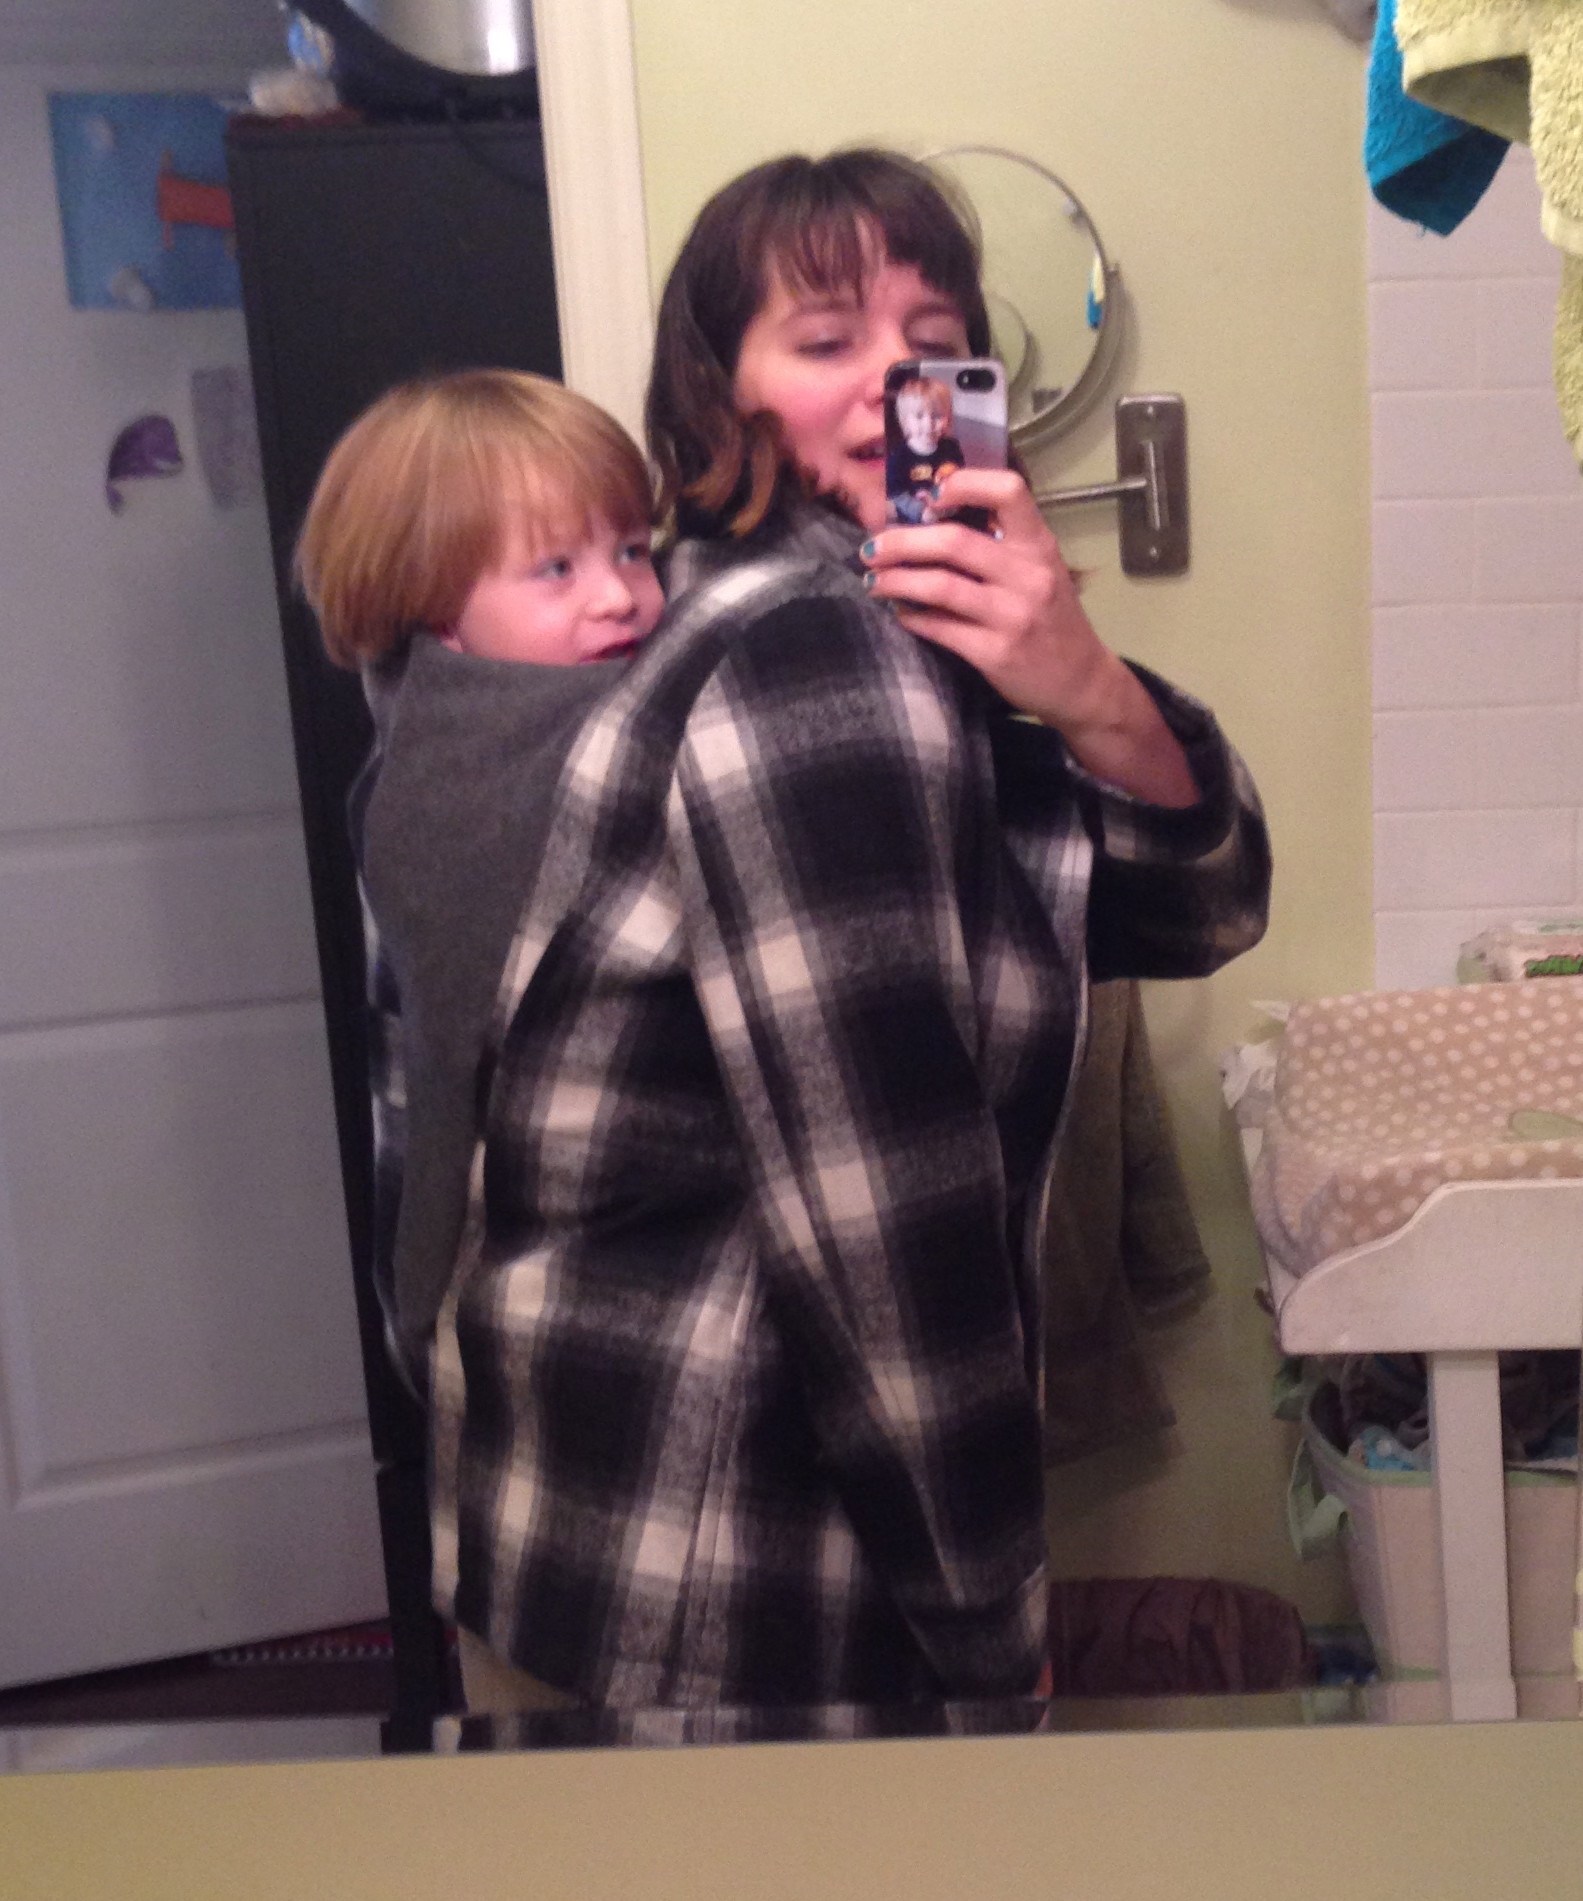
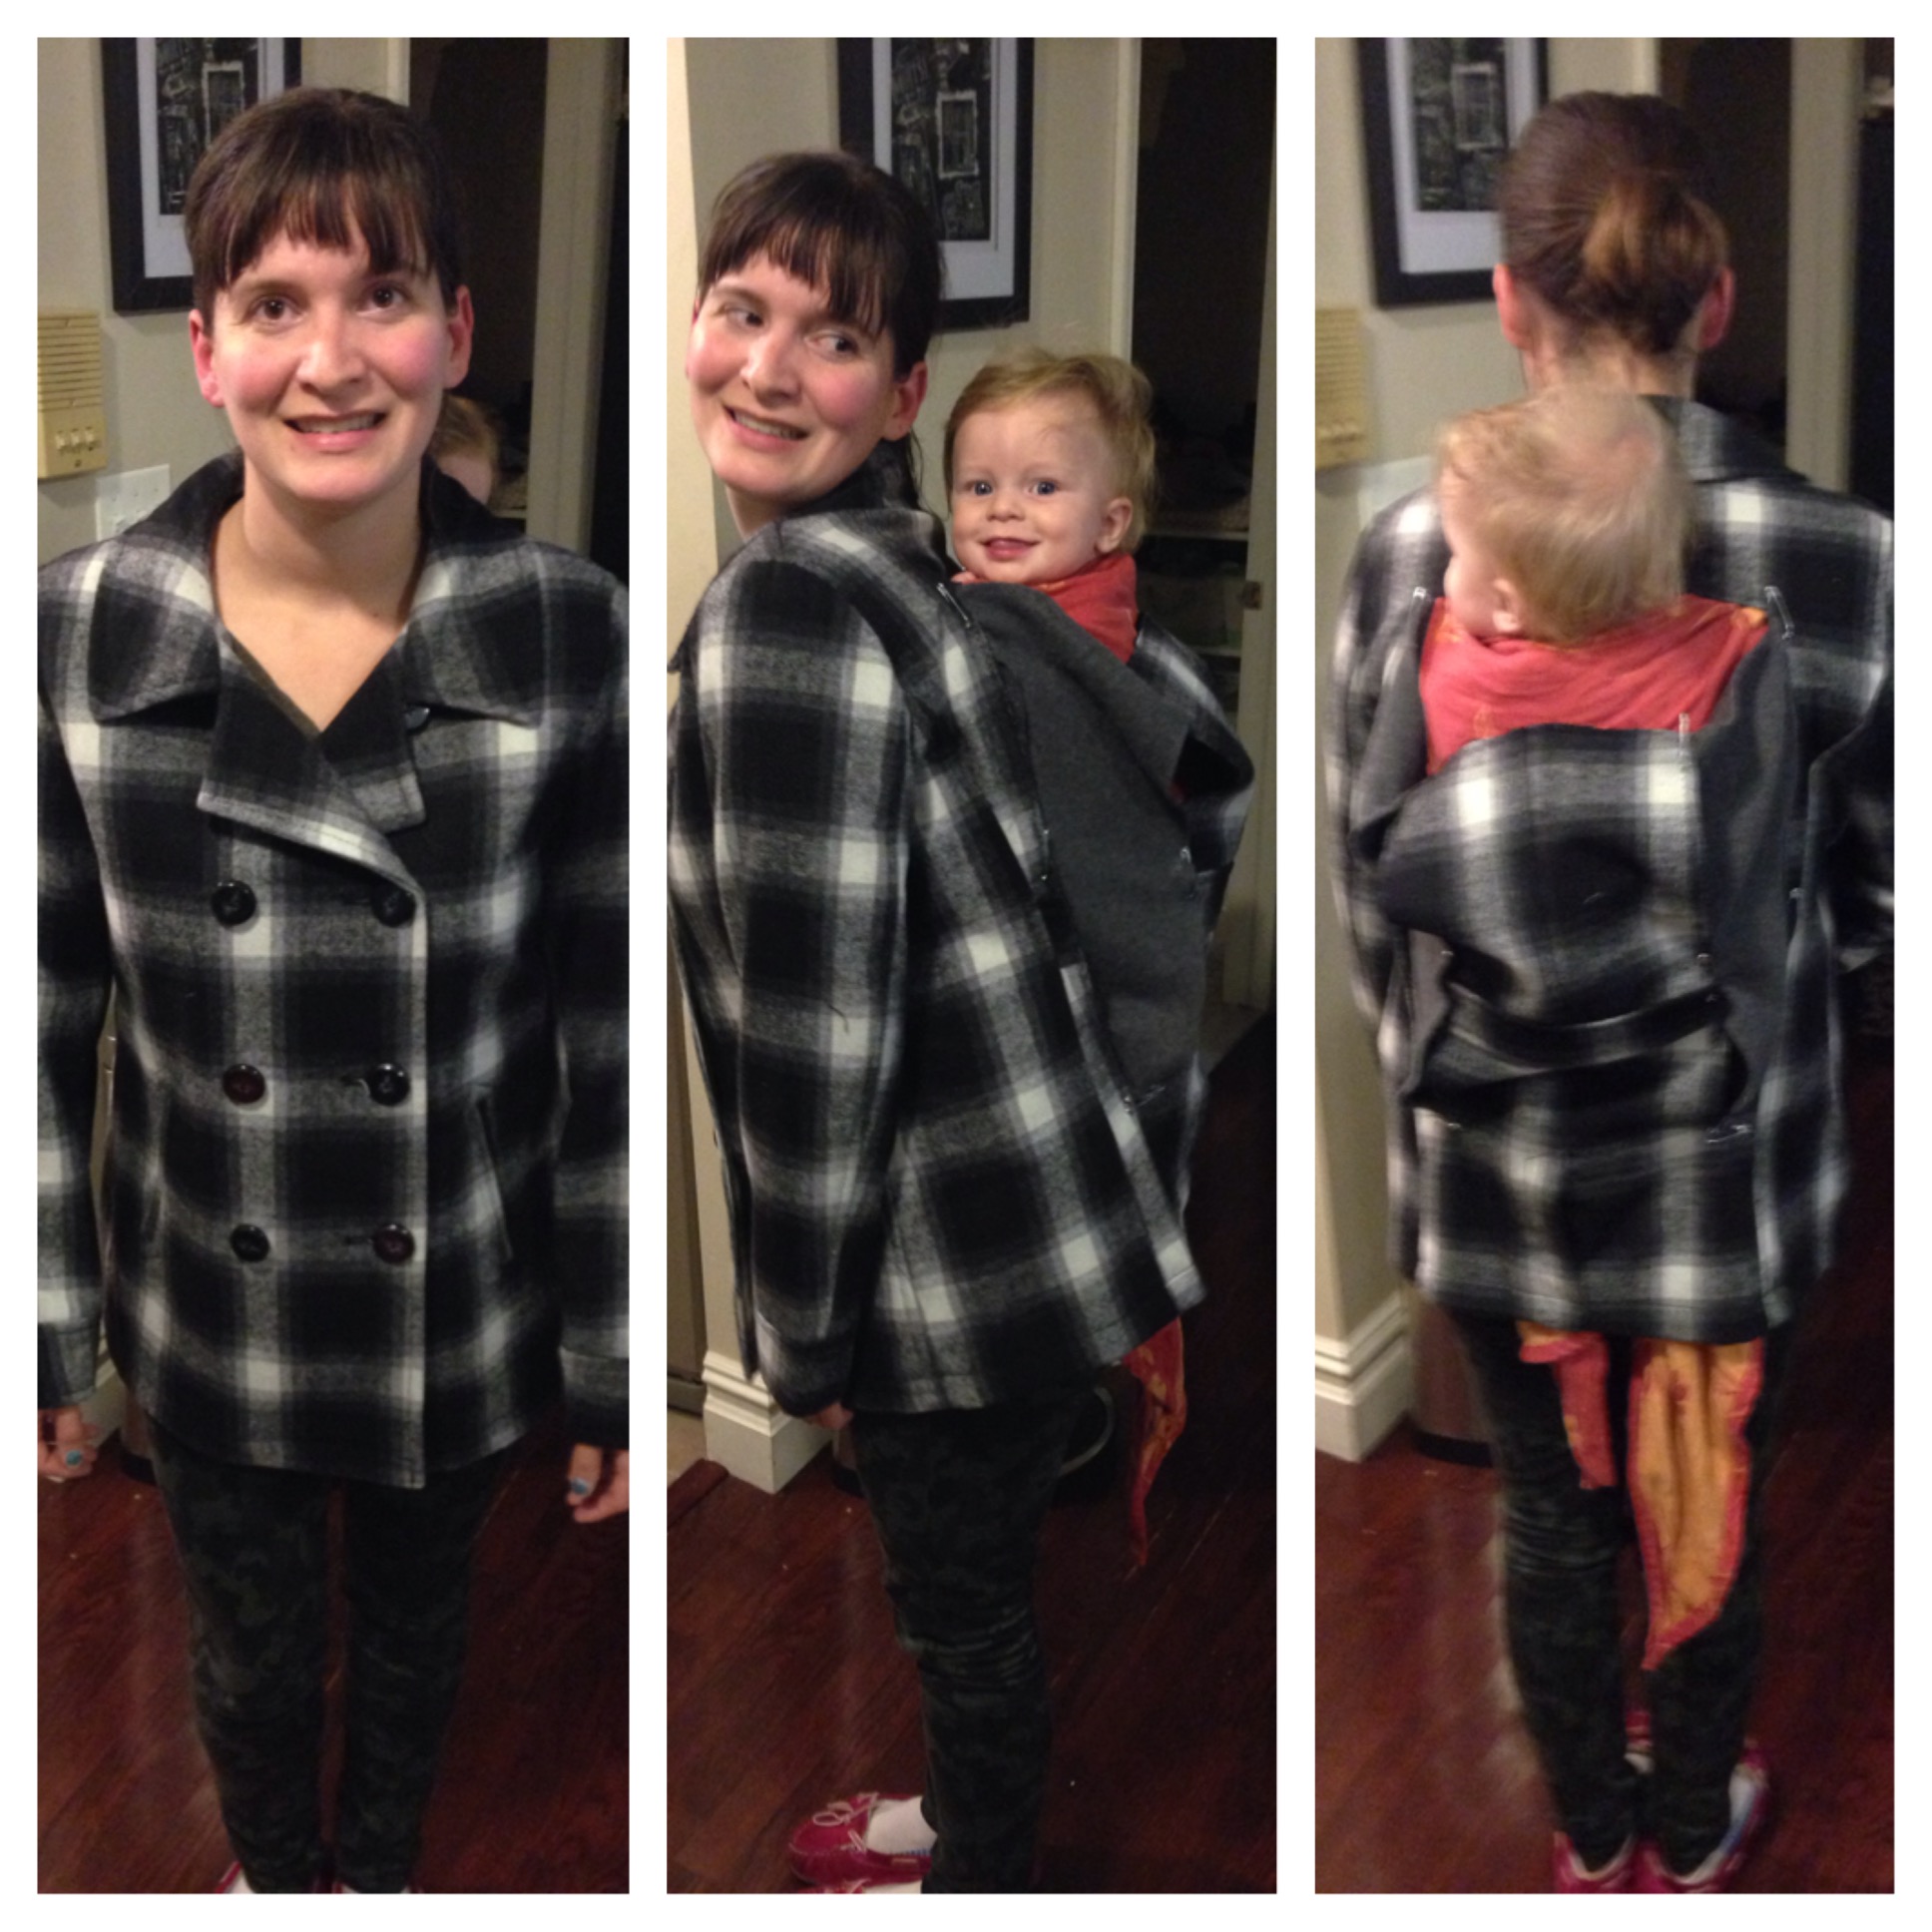
 I’m really glad I decided to make this. A perfect babywearing winter option that I find stylish and WARM! After wearing the coat out all day it’s much warmer than I expected it to be.
Sewing has long been a hobby. I’ve mostly made quilts, but with my recent making of CLOTHES for Halloween, I’m finally maybe ready to admit that I am more than a novice. With winter coming there has been a lot of chatter about winter babywearing options. Simon’s first winter was pretty mild, but we would put him in a full-body pea coat in the Ergo over our coats. If it was really cold I’d wear fleece jacket backward. His second and third winter he was walking well enough that we always used the snowsuit and wore him over our coats for daycare runs.
I thought about buying a zip in or clip in coat panel for front carrying this year. I also really liked the idea of the Kow.ali carrier. I bought some fleece and made my own. It’s not perfect and I need to add pockets, but I like how it turned out. Since I do more back carries with Caleb and don’t want to carry over my coat I first thought I’d just switch to front carries for the winter. There are baby wearing coats but I don’t love the look of most of them, and didn’t really want to spend the money. I’ve seen some DIY options, but it wasn’t until last week when someone mentioned a wool coat option that I decided to jump. Old Navy had outerwear 50% last week, so I bought a hip length coat for $30. I had fleece scraps from the Kowali style vest that worked for the inserts.
I found this tutorial and this one that outlined the basic procedure. I first put Caleb on my back to determine about where his head and bum hit on me. Then I put on the coat to find those approximate spots. A medium coat fit me exactly, so I went up a size and bought a large. I think either would have worked.
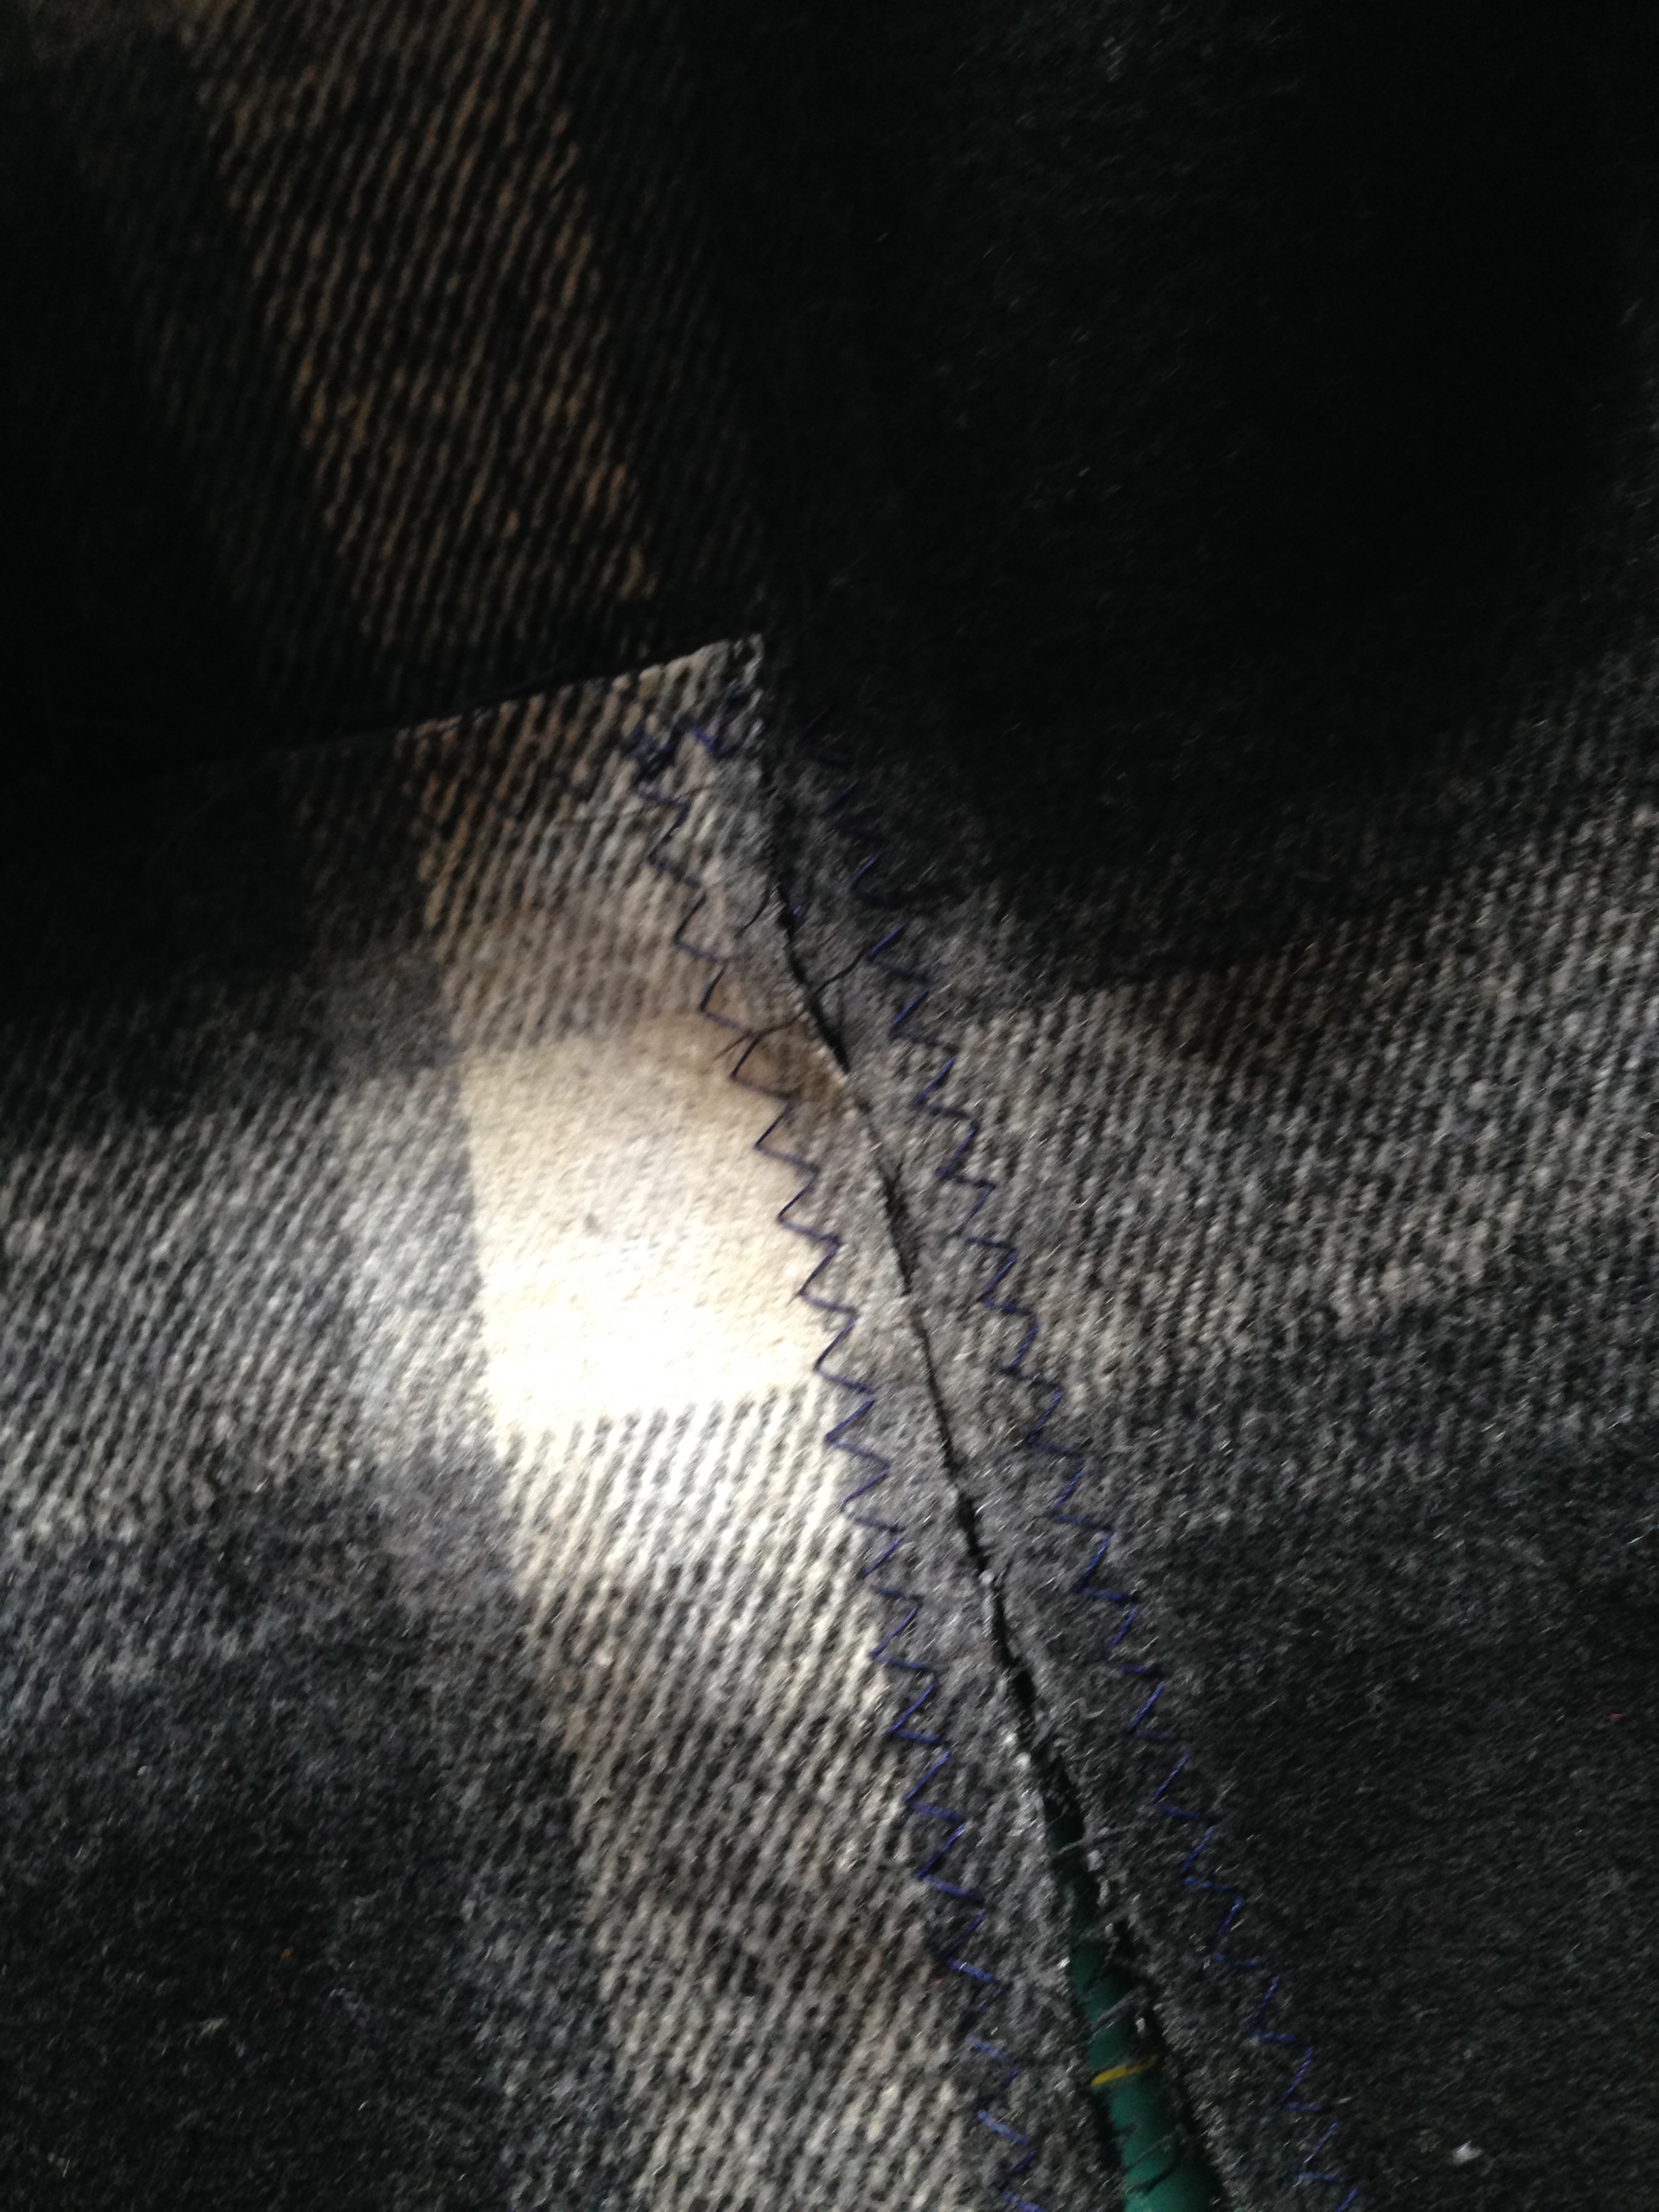
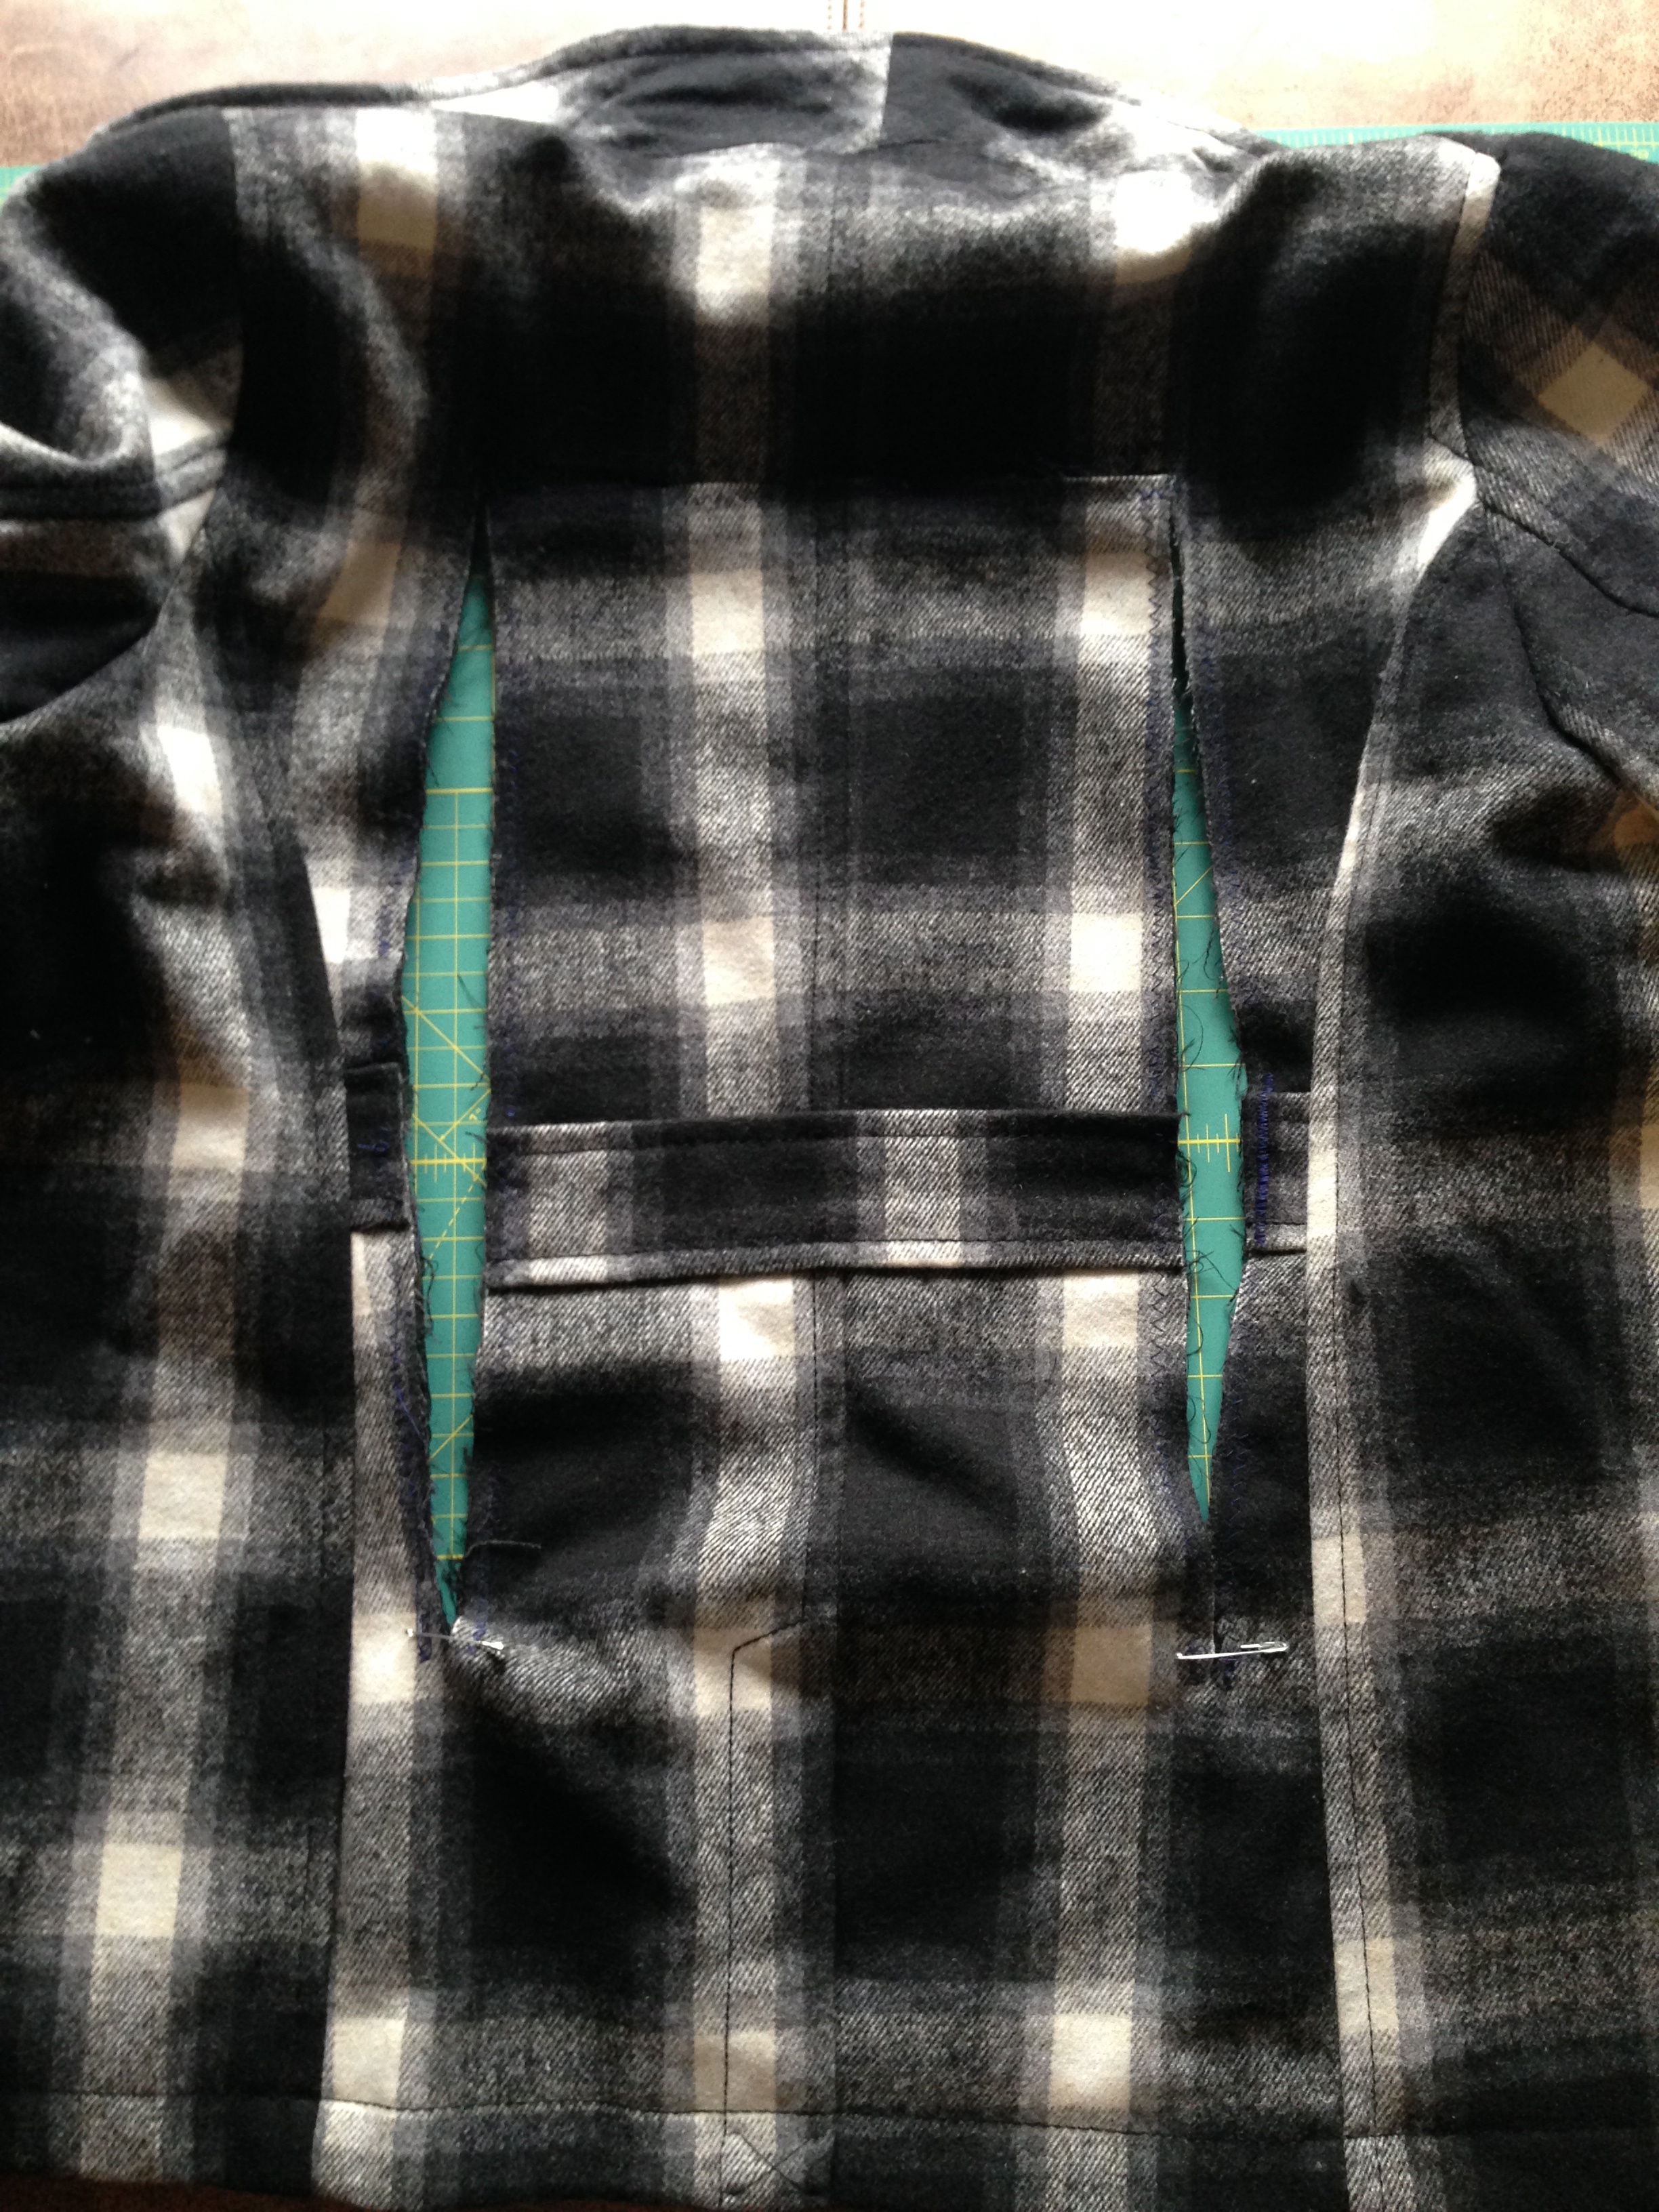
I used a paint pen to mark the coat where I would cut. I made the top about 5 inches down from the neck line and made the length of the cut 23 cm. This was easy because the seam down the back of the coat was 1 cm, so I used that as a guide as I marked down the coat. I made my cut to just above the pleat in the back.
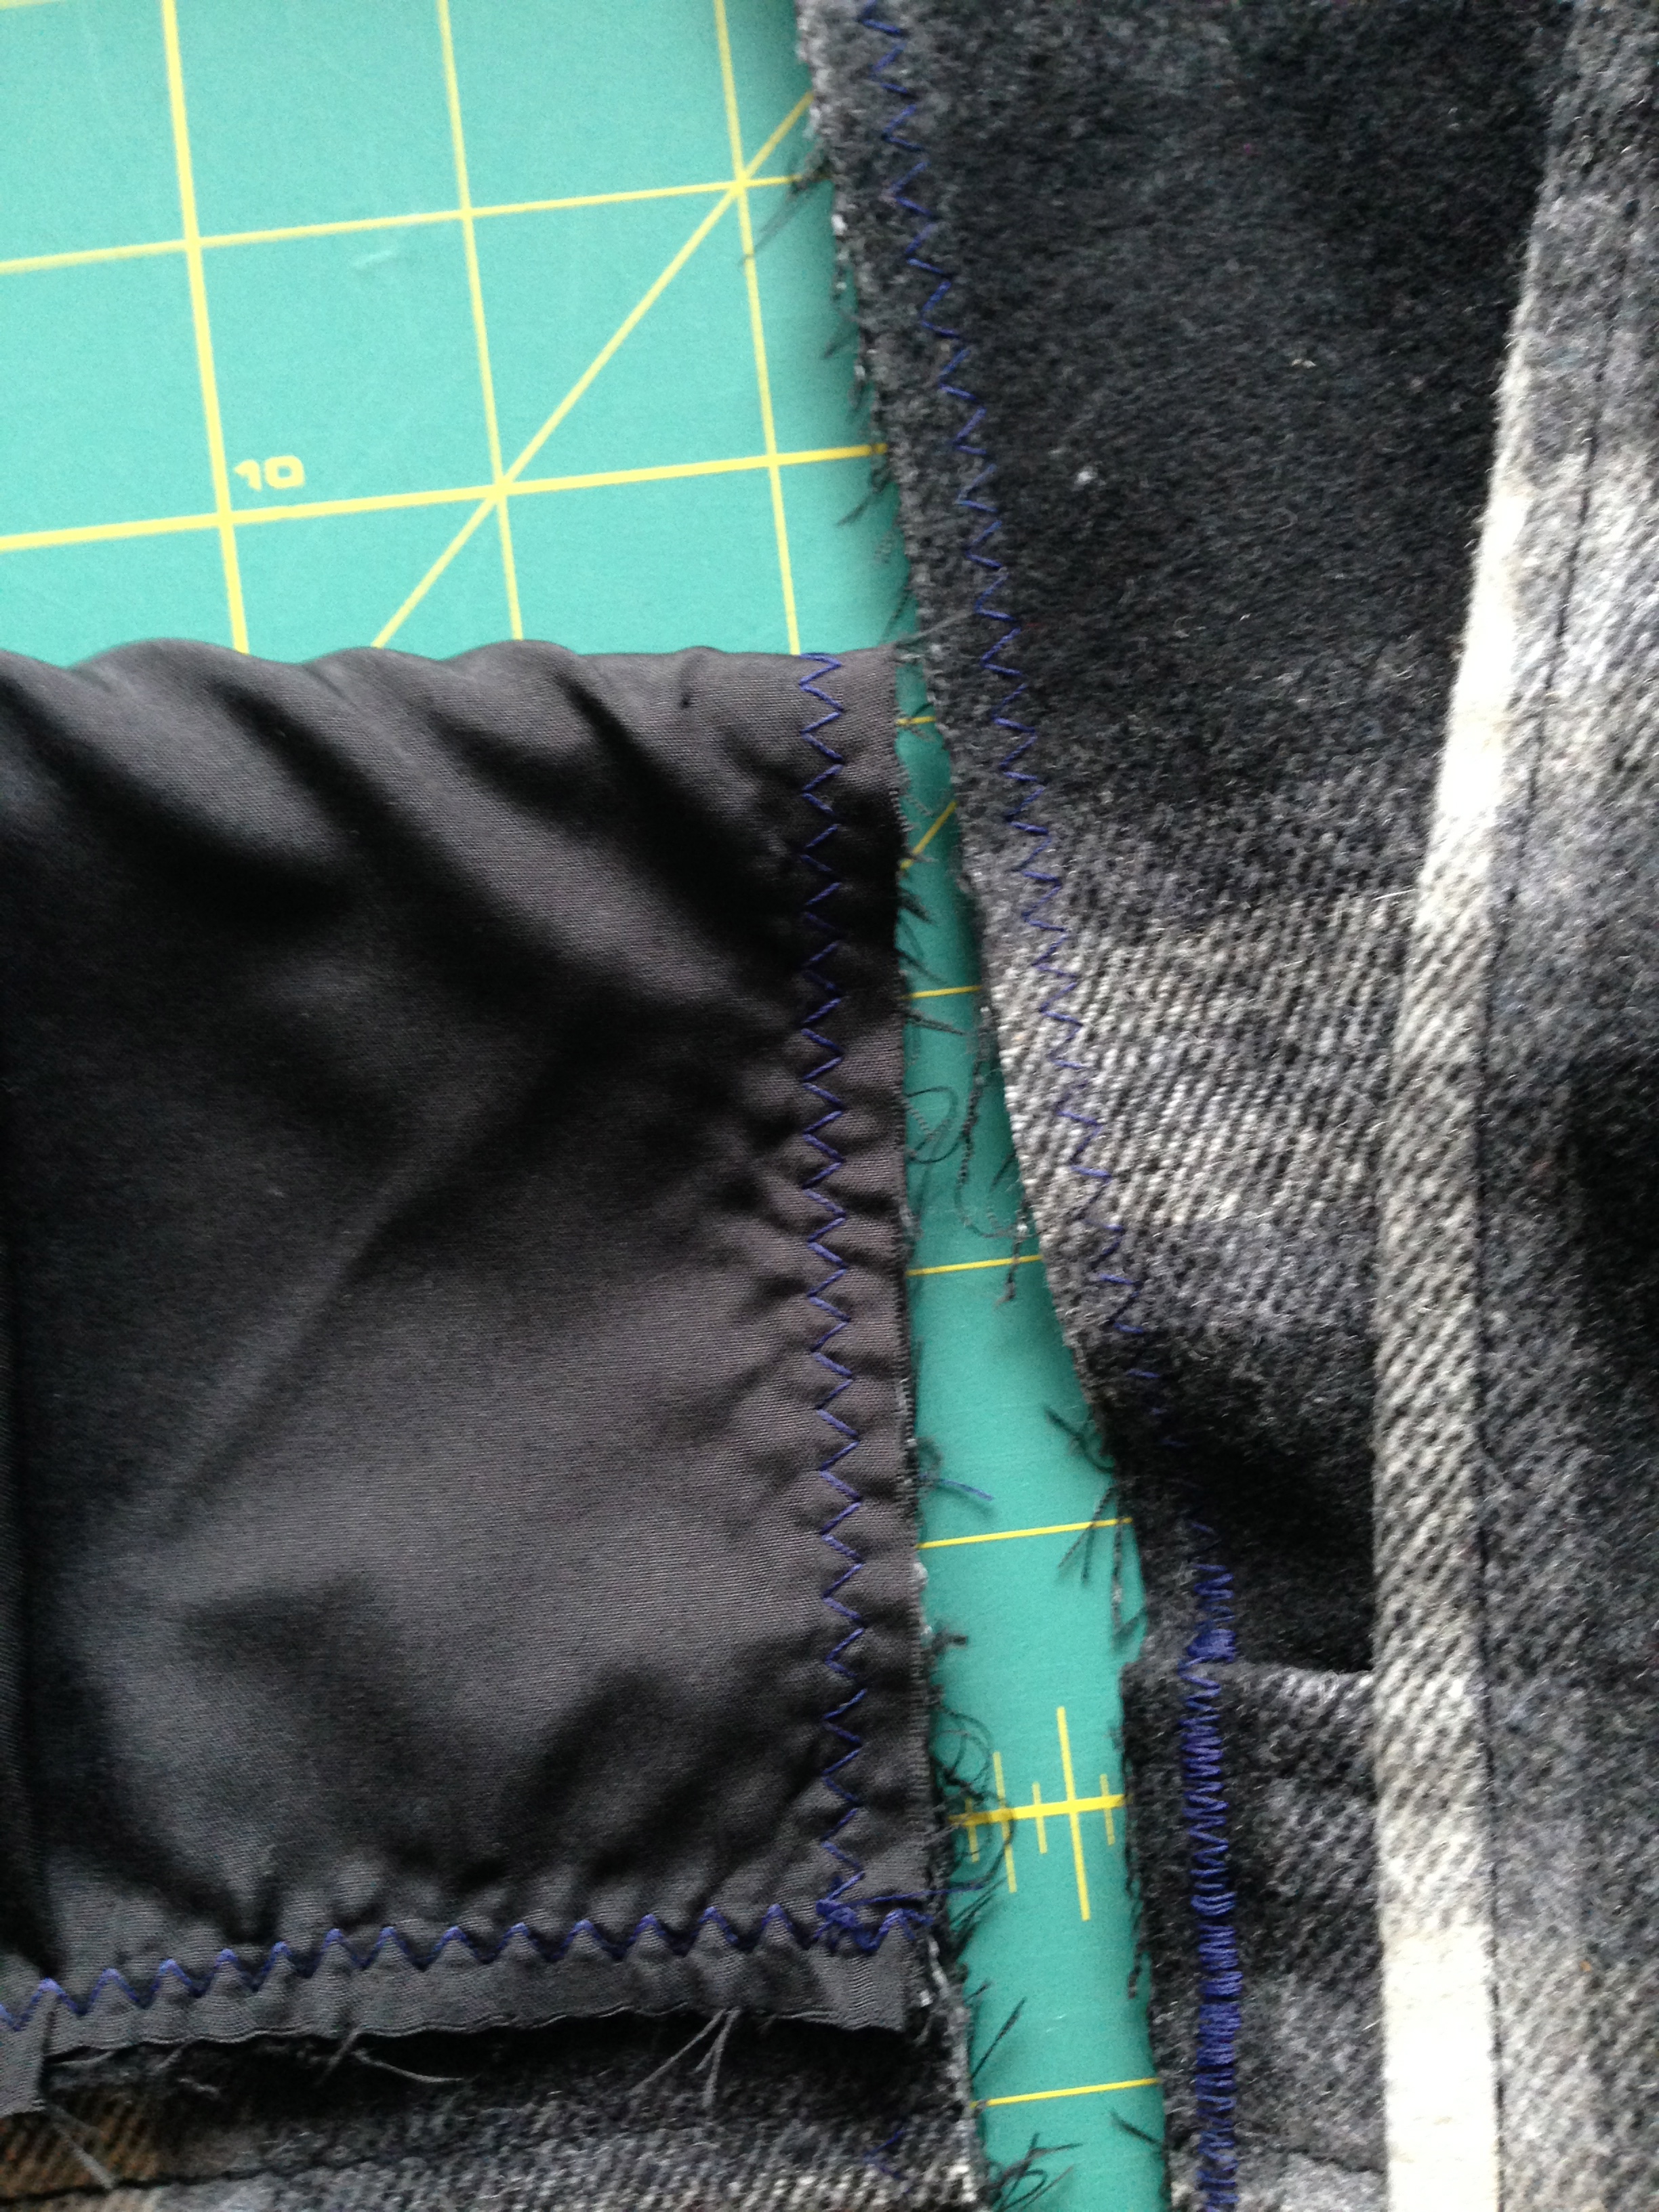
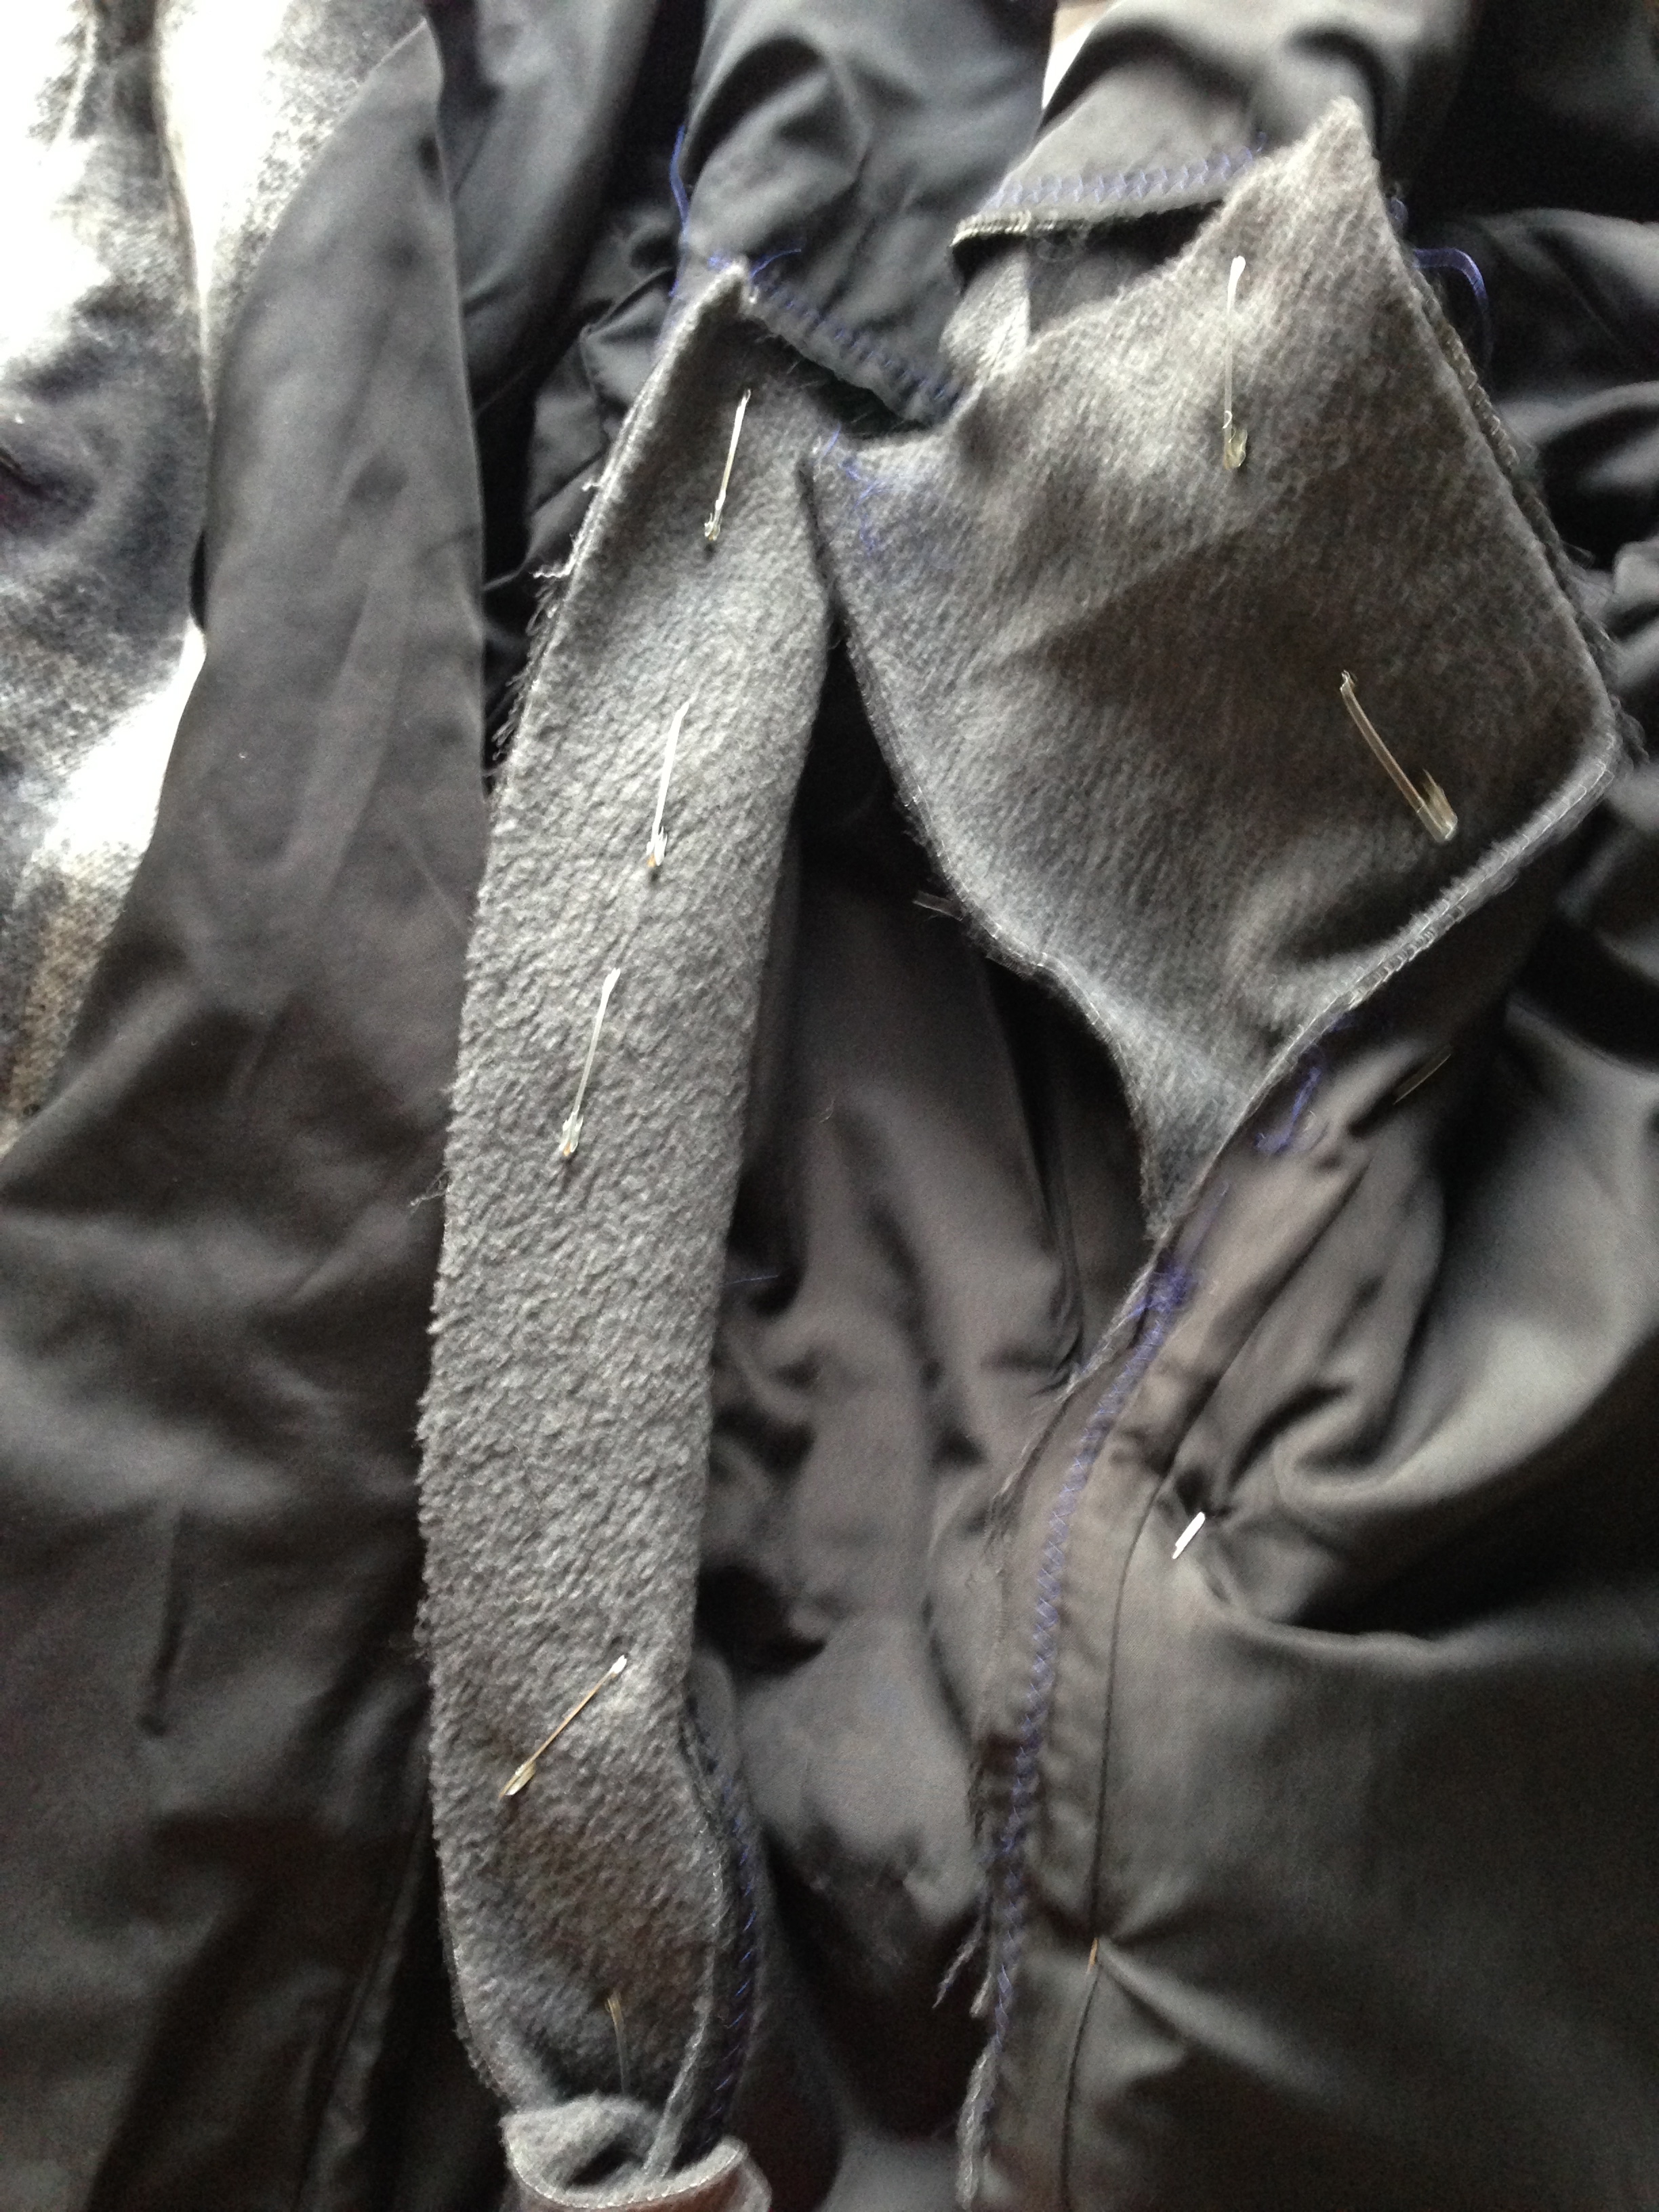
Because the lining would become detached I pinned the coat to the lining both on the coat and the panel well inside the seam allowance (about and inch) then sewed a zig zag stitch along the inside and the outside of my paint pen. Then I cut out the three sides of the panel. The waist belt was a bit tricky to stitch over, but ultimately not a problem.
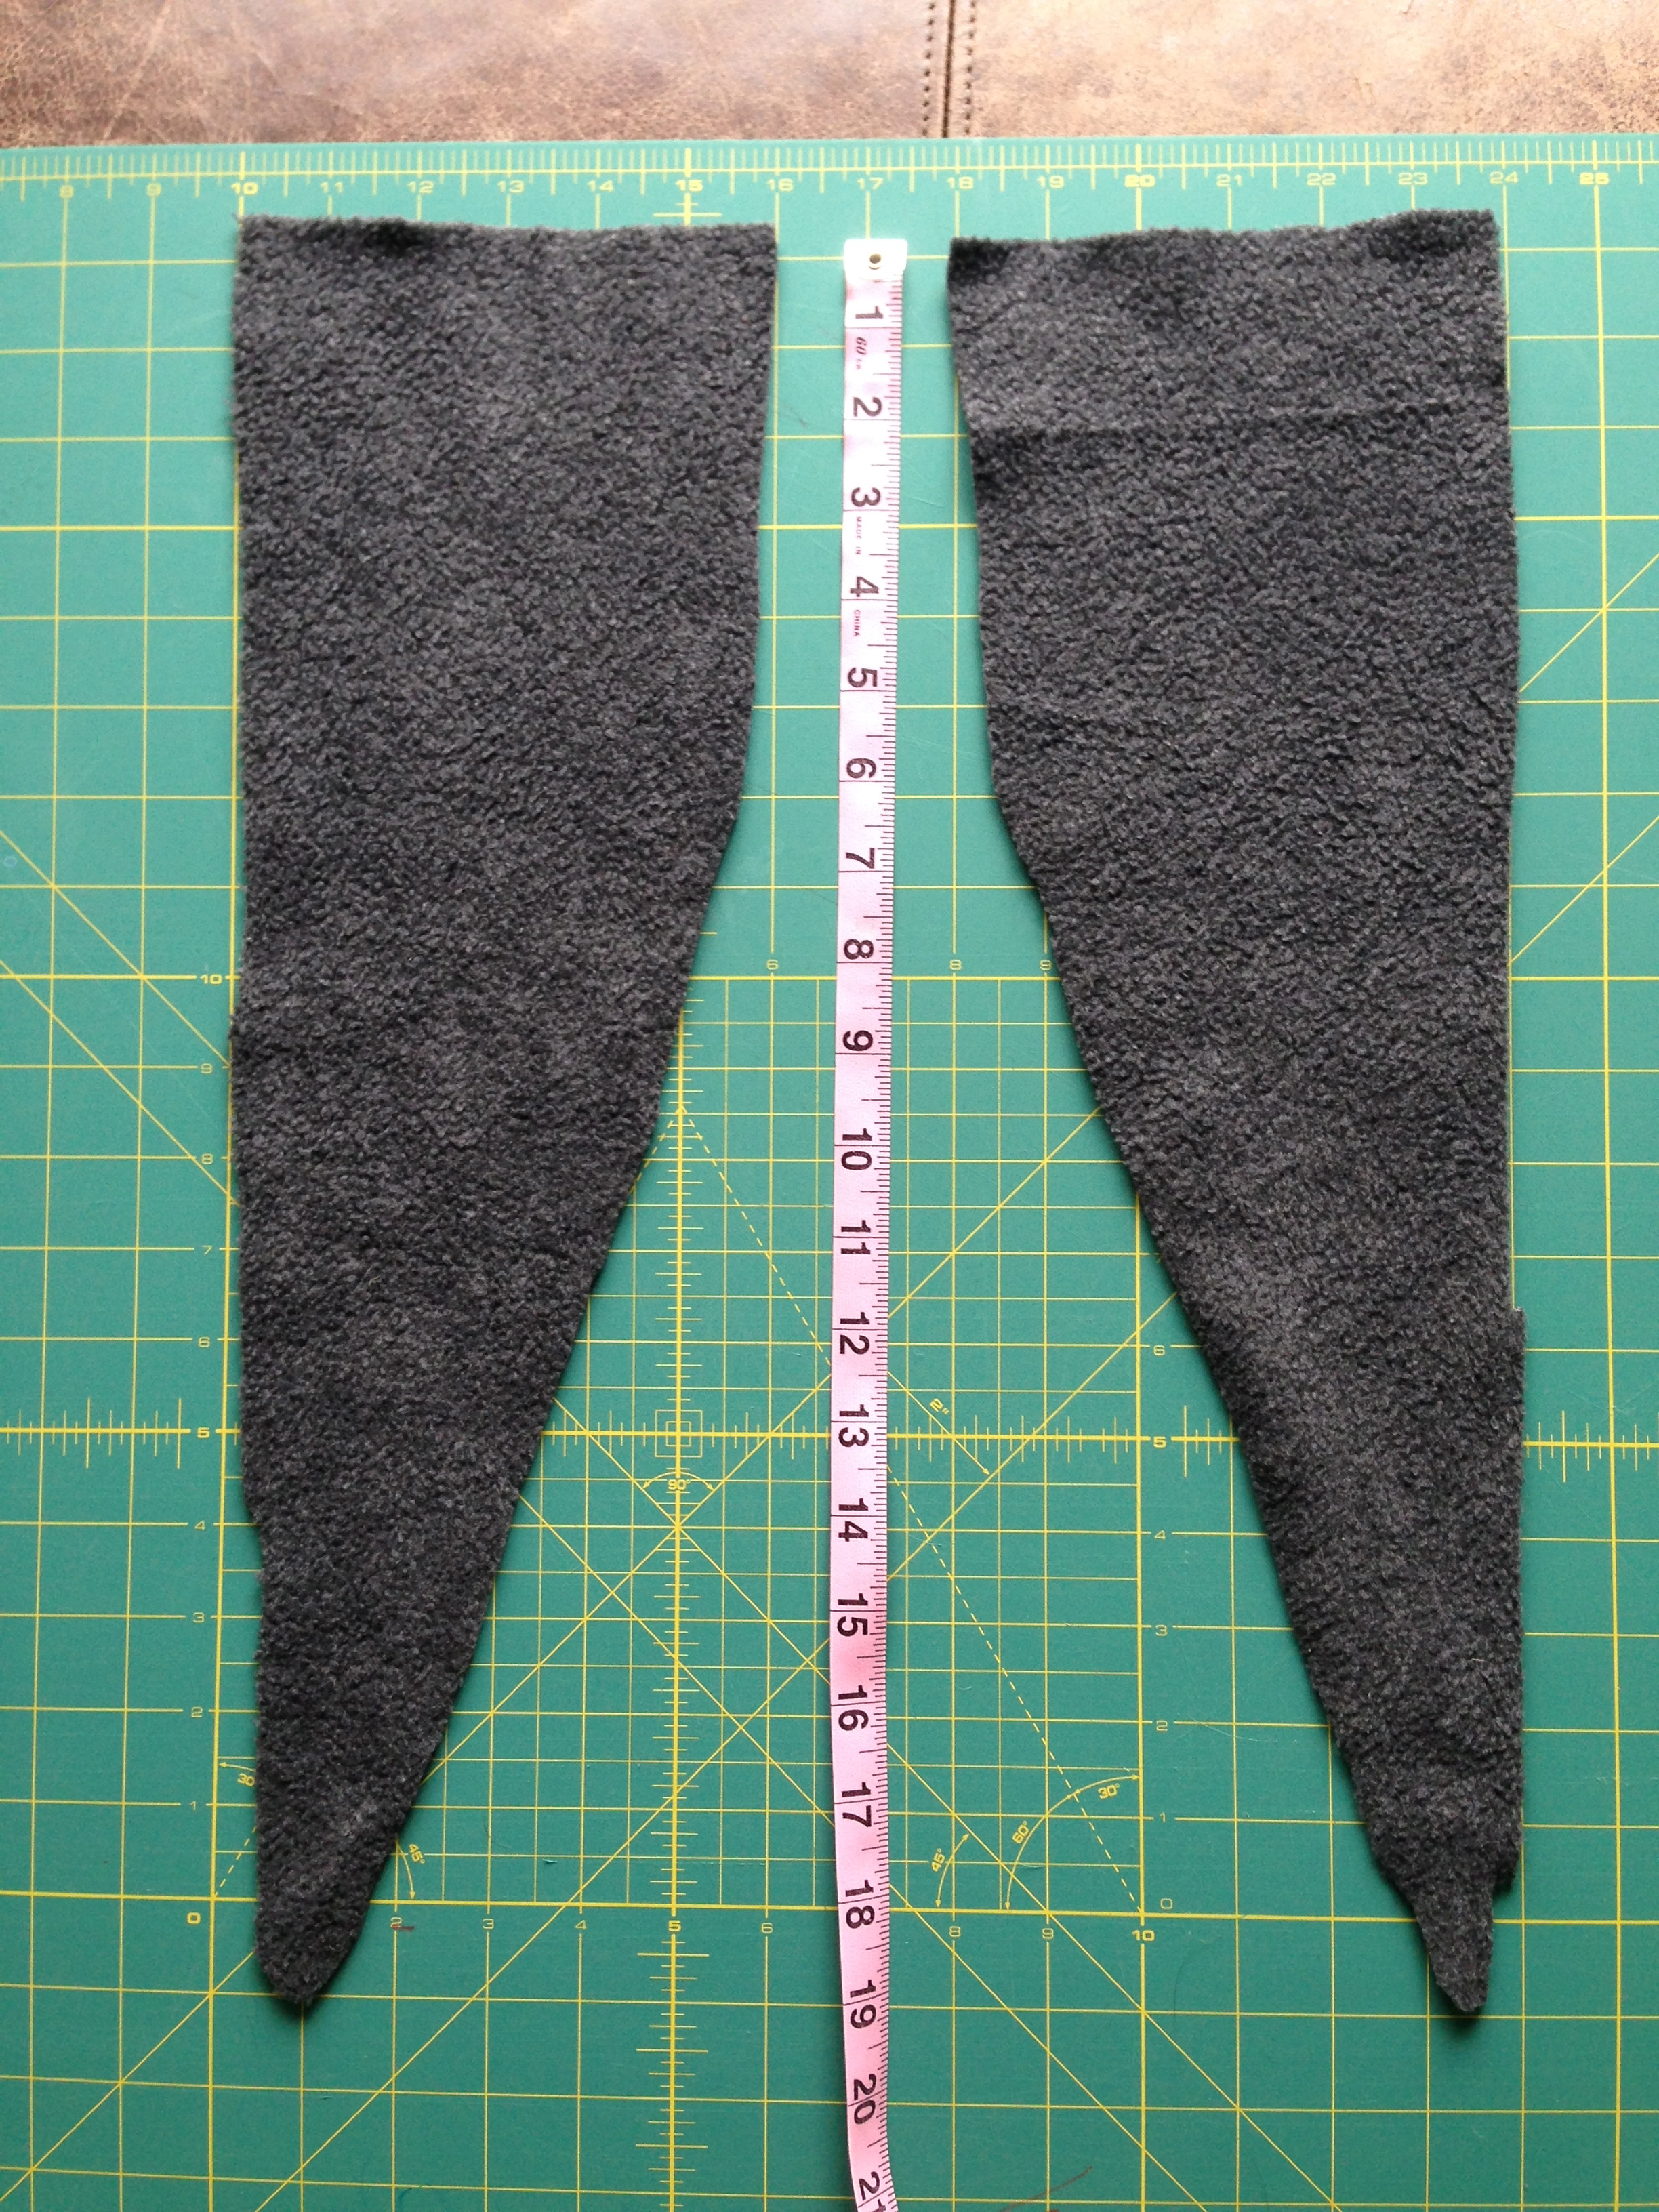
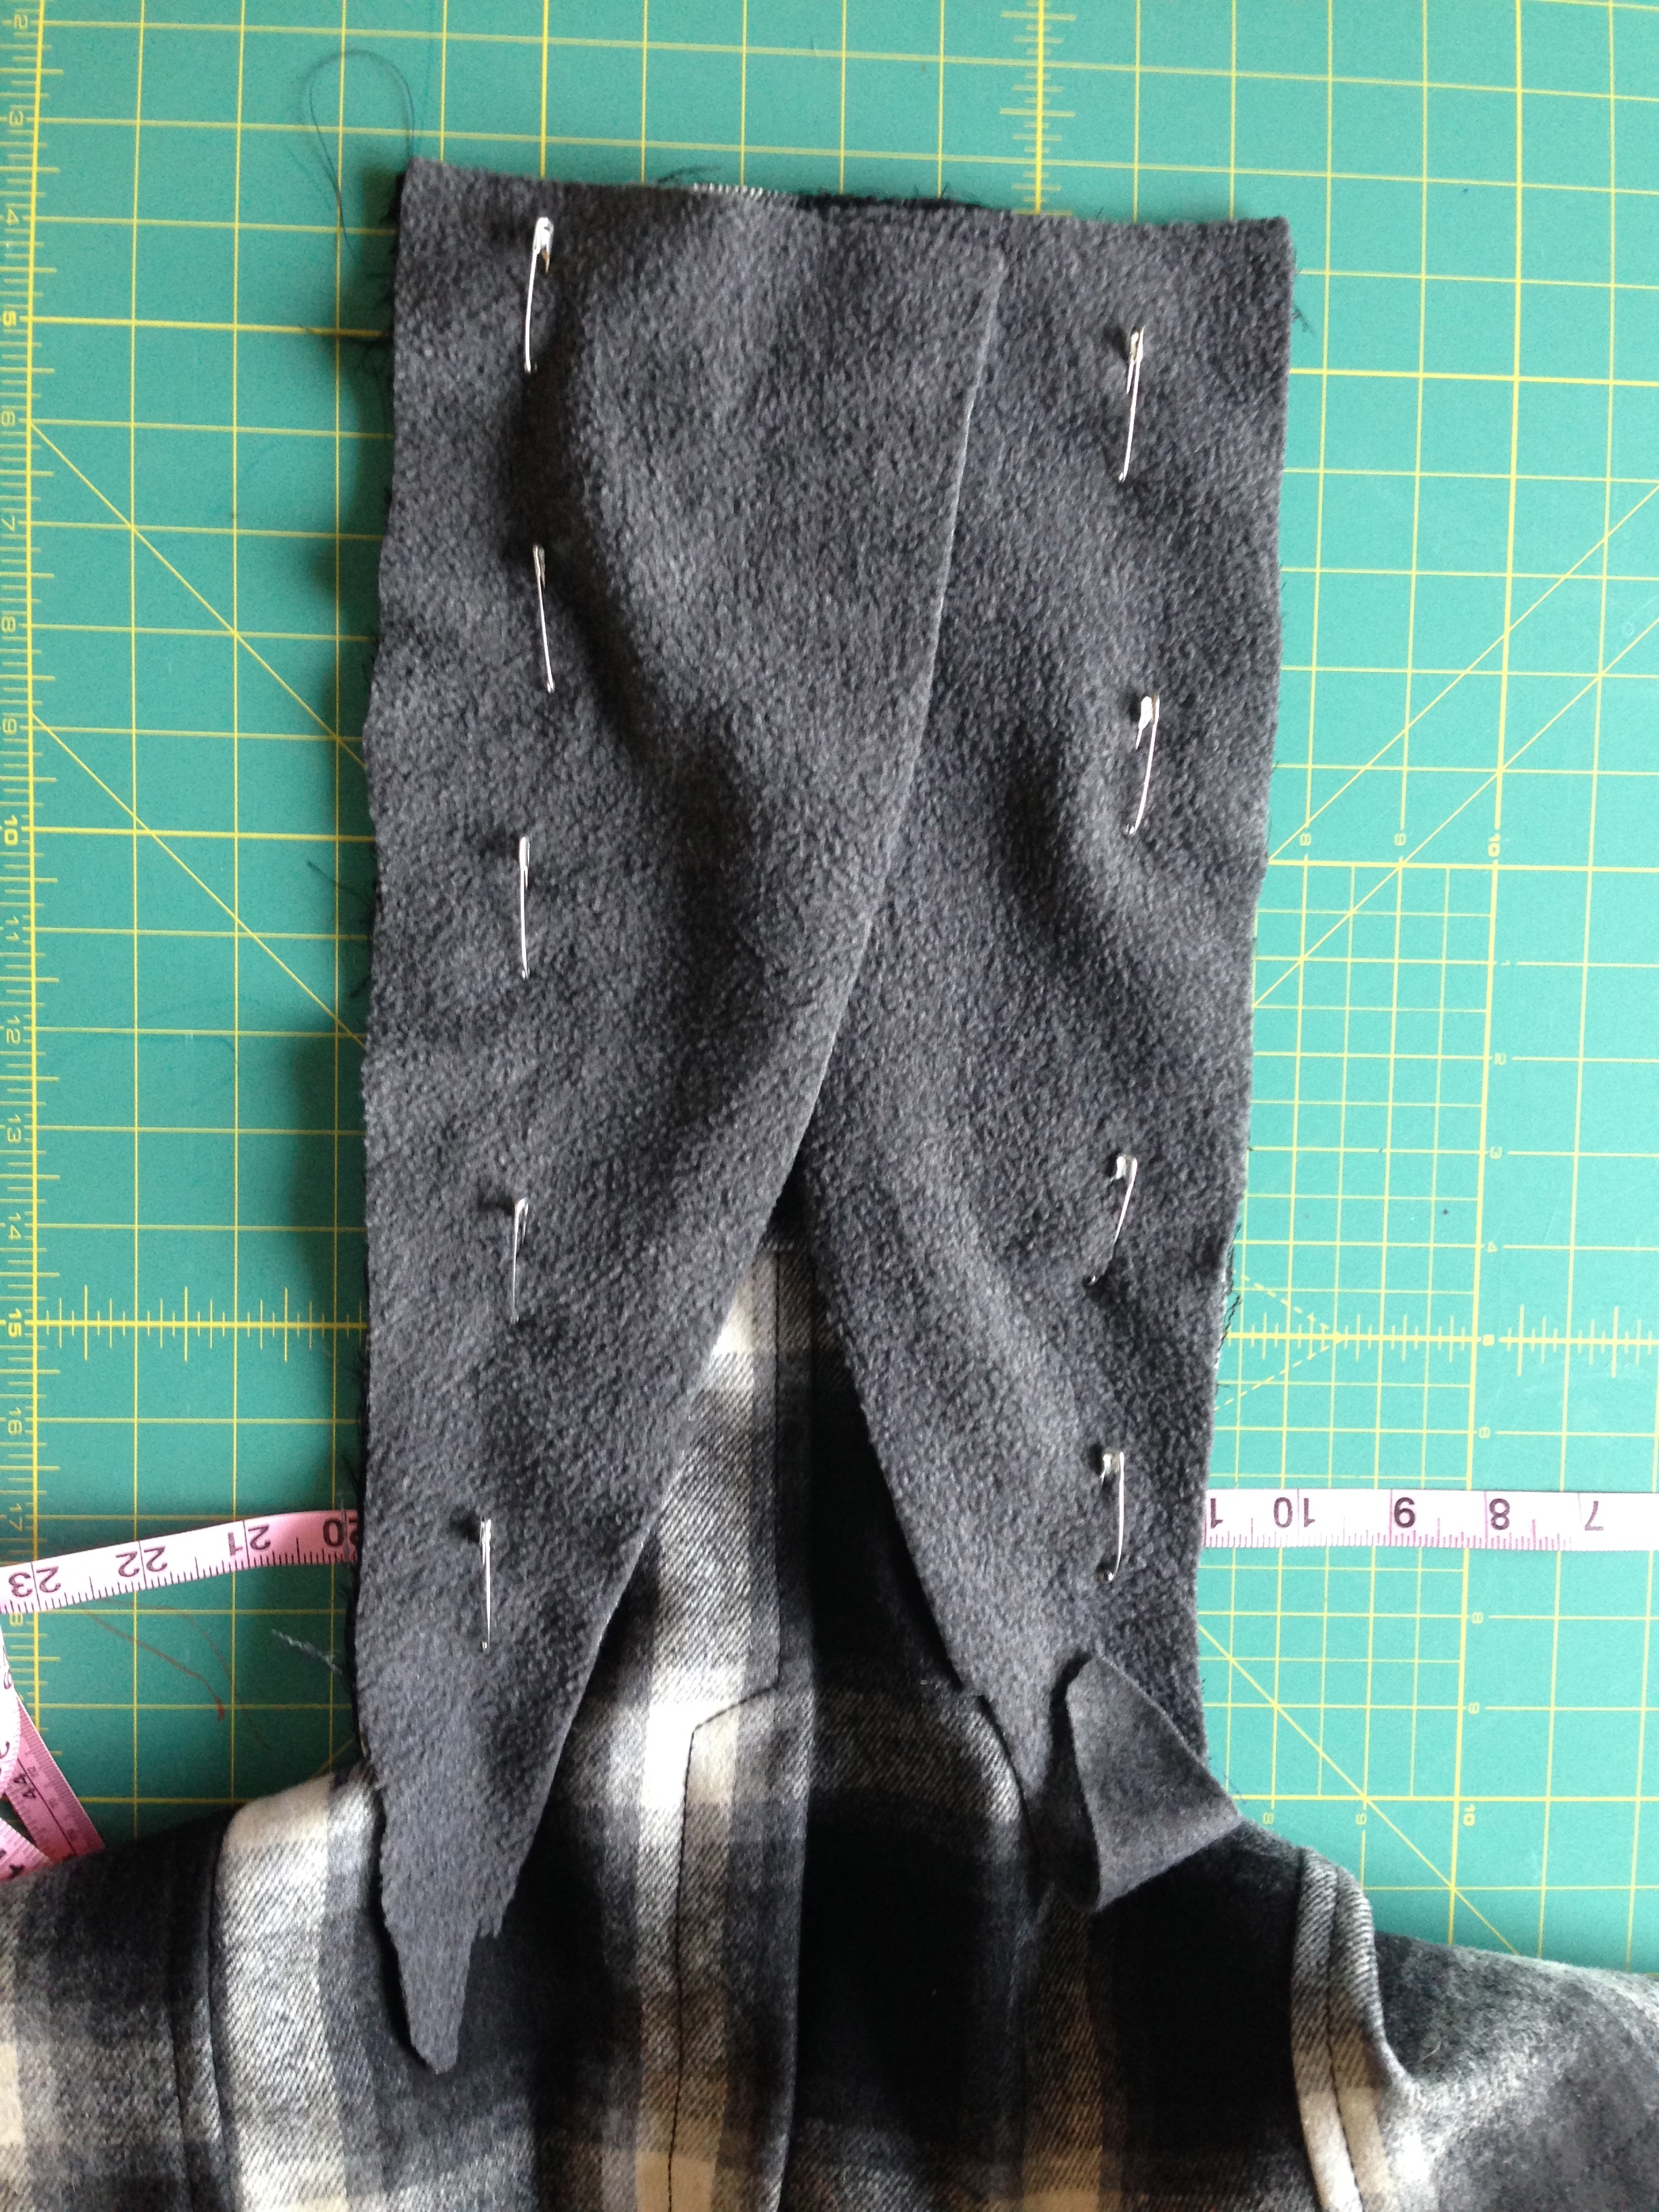
Then I uses safety pins to attach some fleece to get an idea that I was on the right track. I cut strips 6 inches wide at the top. Instead of a curve I made more of a triangle. My inserts were about 3 inches longer than the cut.
 I pinned the “curved” side to the panel right sides together. Then stitched with a half-inch allowance. Fleece is stretchy and slippery, so it works best to have the fleece on top.
 Were I a more patient person I would have basted before sewing to help with the slipping. (This would also have allowed me to test the size and be able to rip it out easily if I was wrong.)

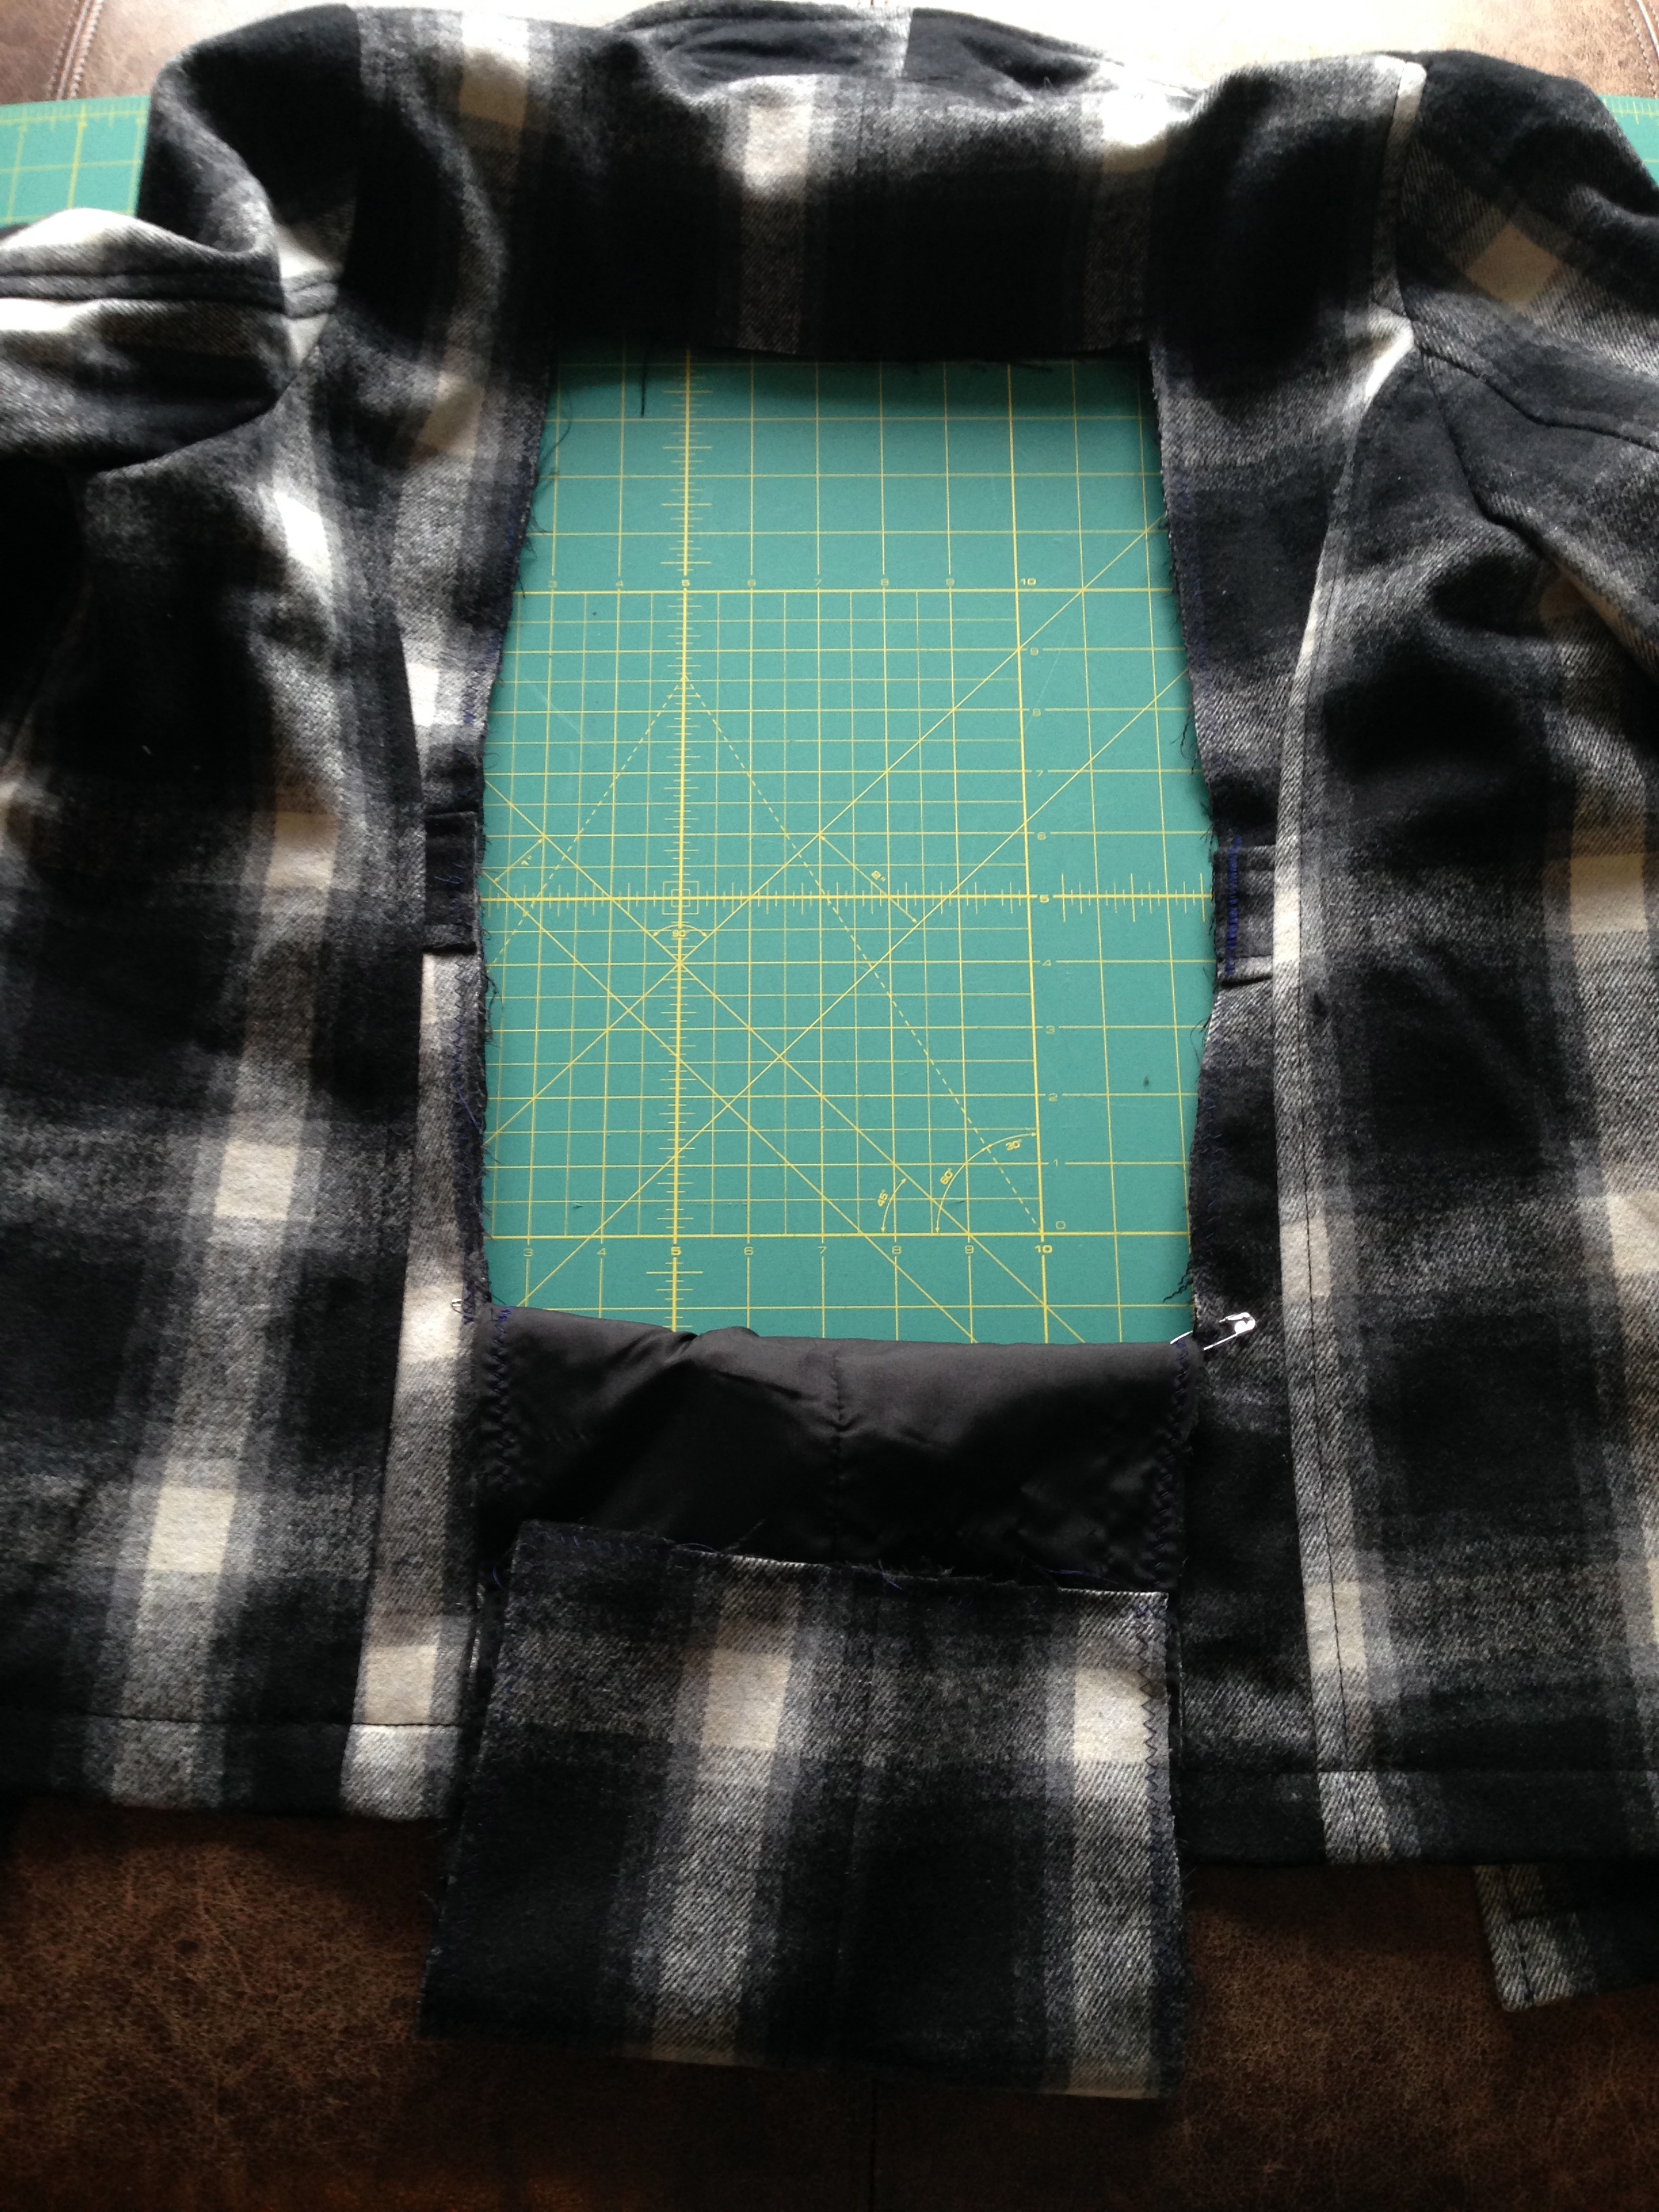
Then I pinned the straight side to the main part of the coat right sides together. I made sure to pull the extra tail through to the inside of the coat and stitched.
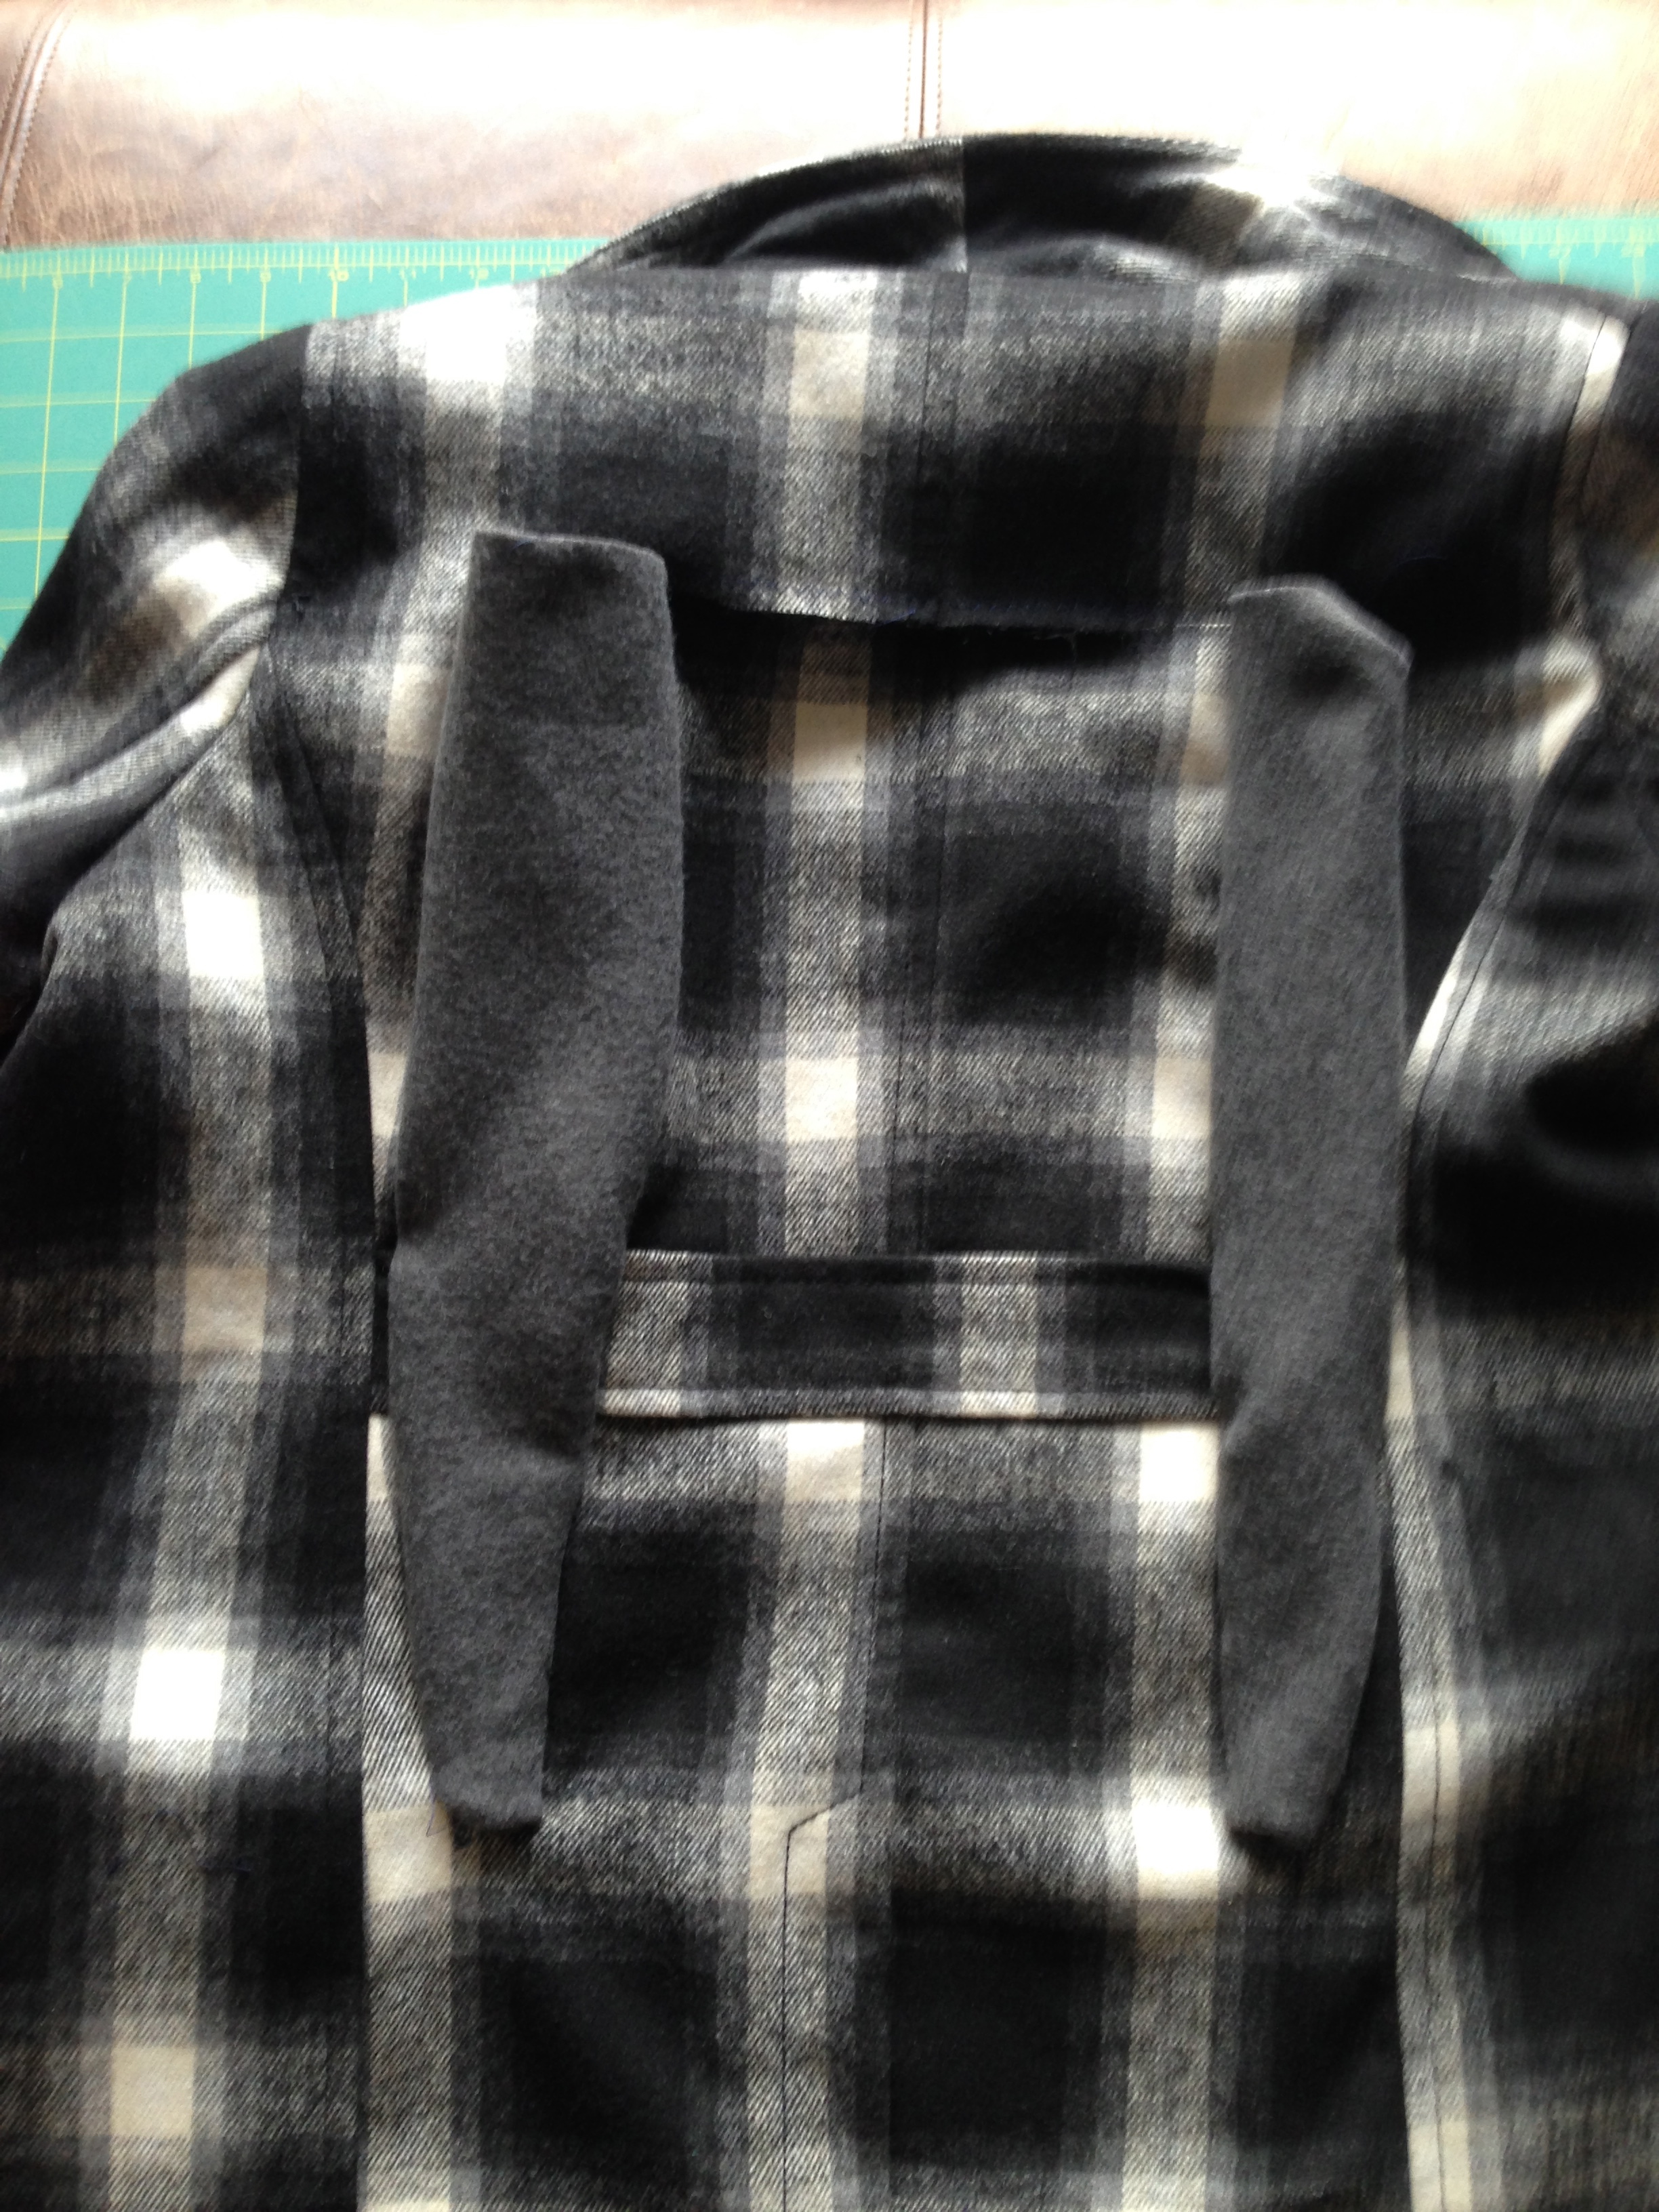
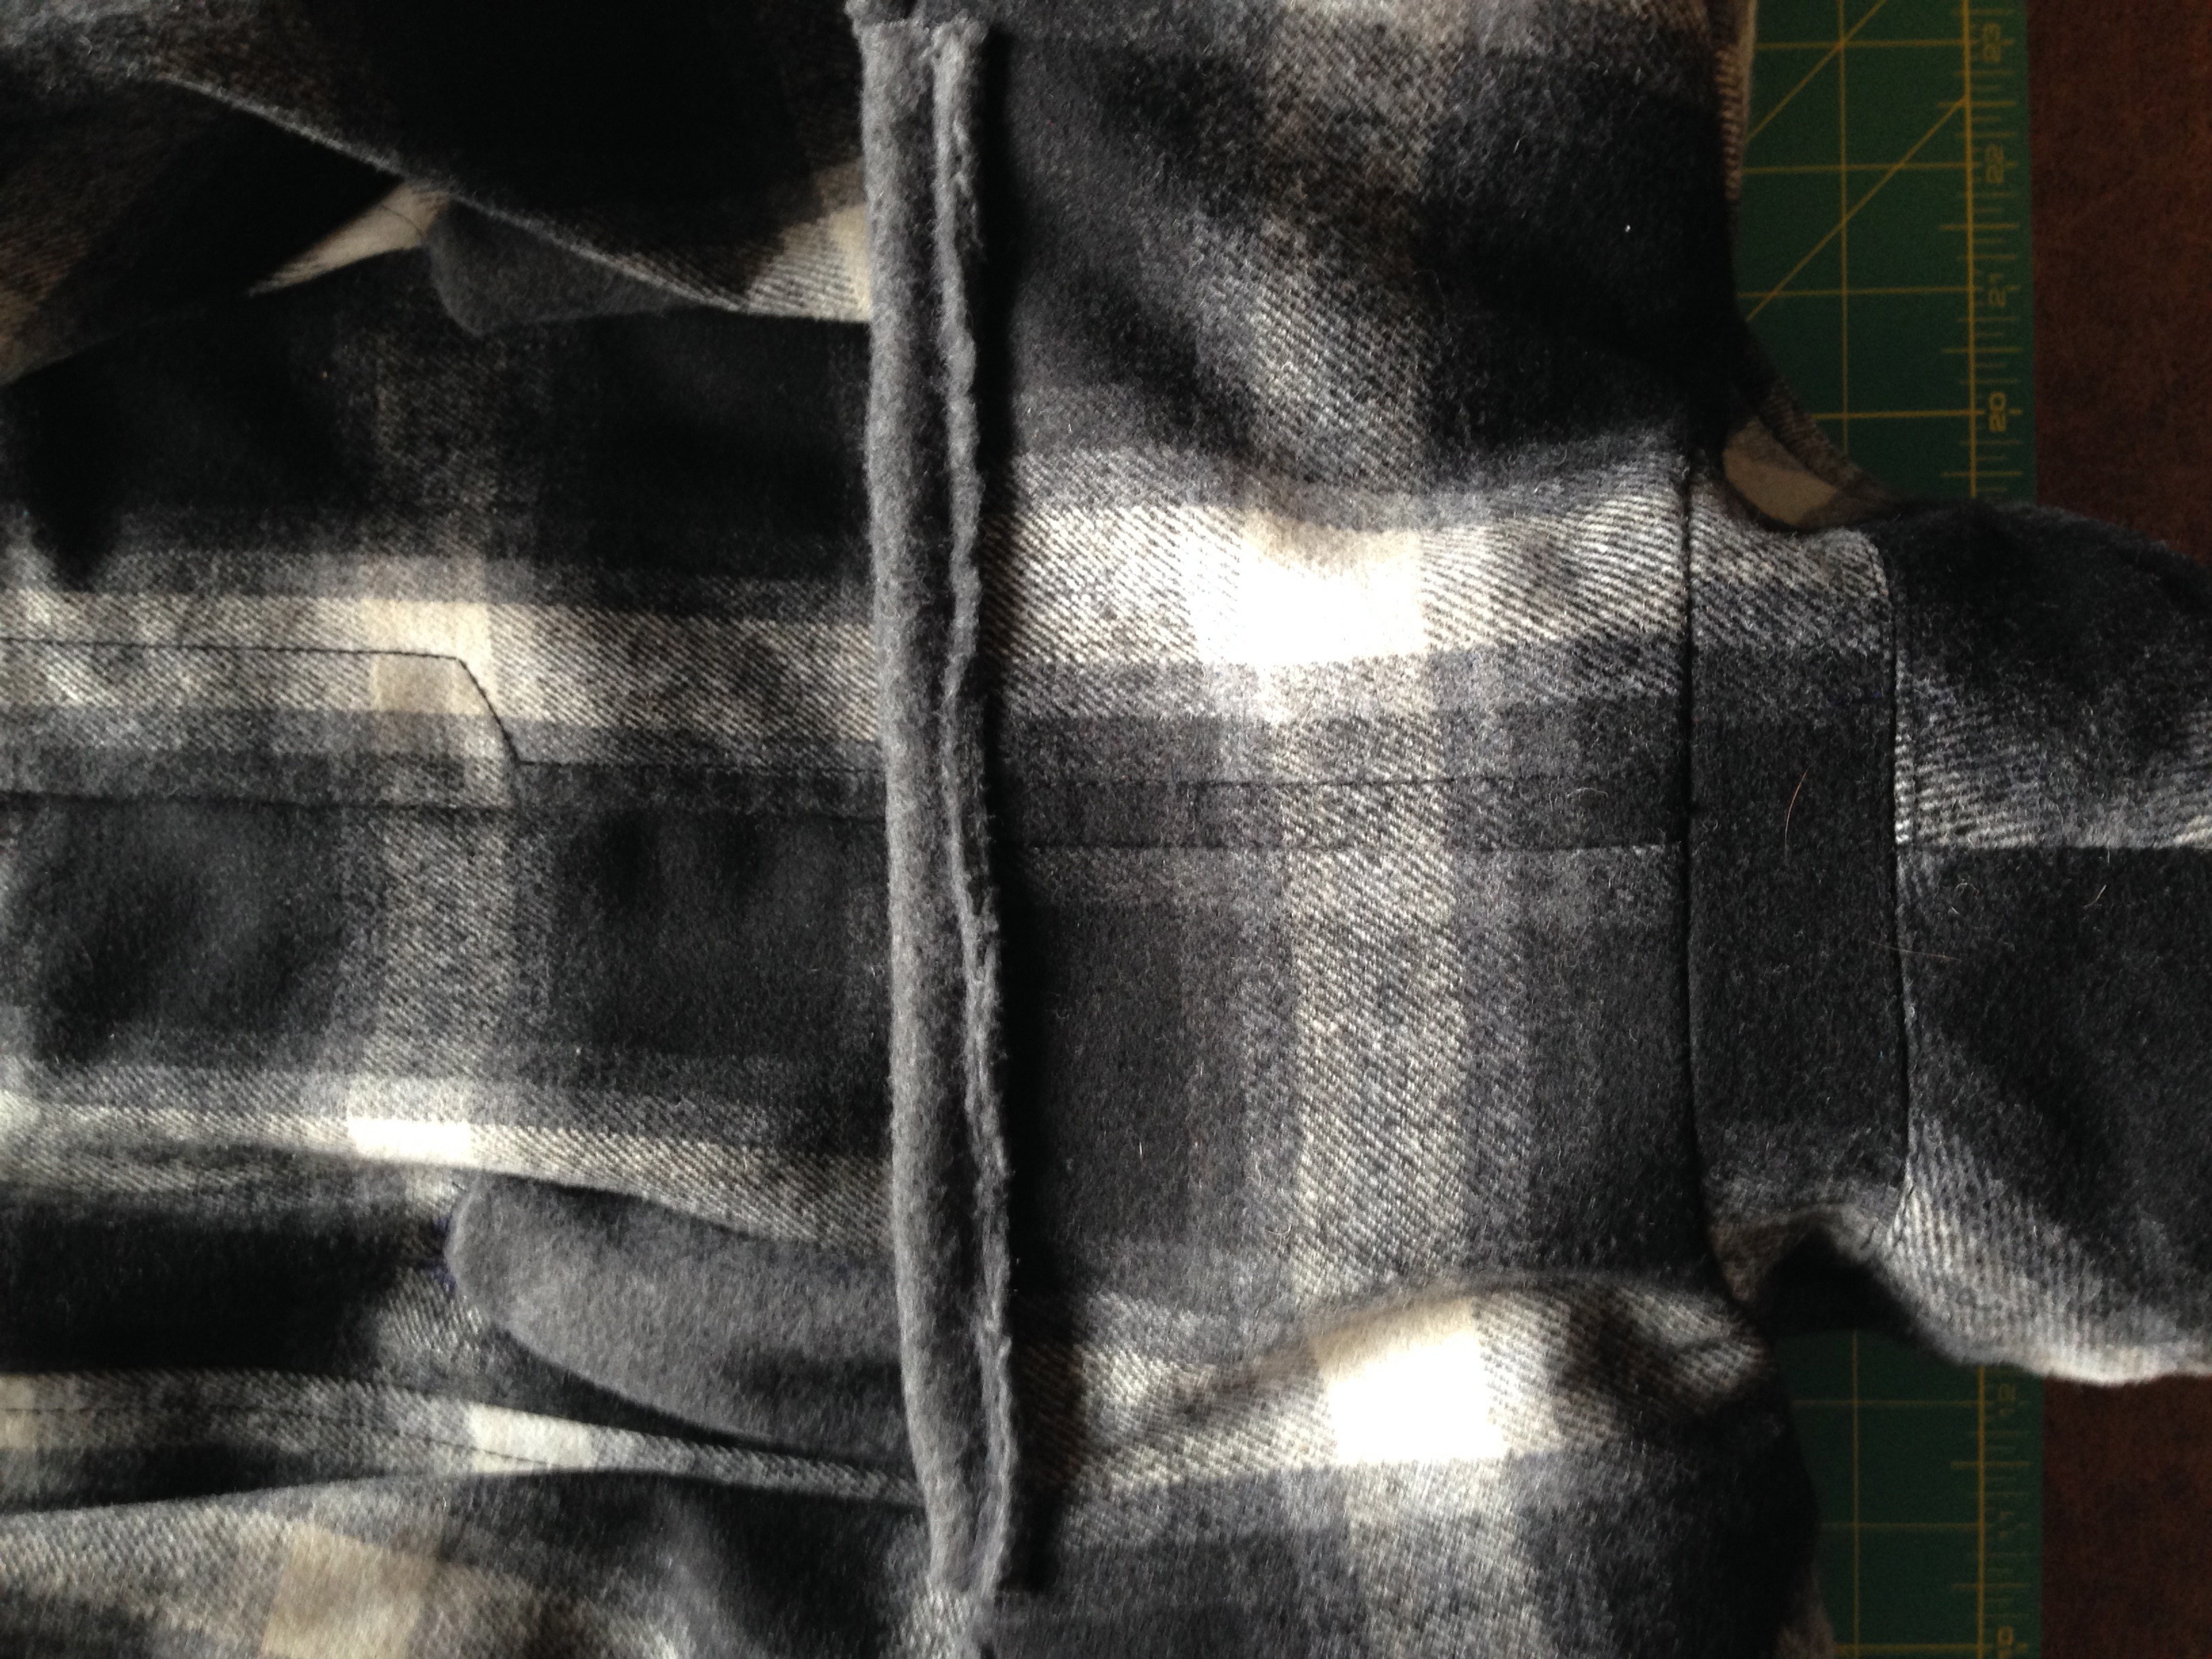
To finish I cut a 1.5 inch strip and sewed it over the raw edge of the coat like you would with a quilt binding.
 Then I took the last 4 inch scrap for the collar I sewed it (right sides together) to the top edge of the panel and the two fleece sides of the insert.
 Then I pinned the ends into the finished edge of the coat. I hand stitched this on because I didn’t want to get the sewing machine out again. I also reinforced the bottom of the pouch insert pieces by hand.
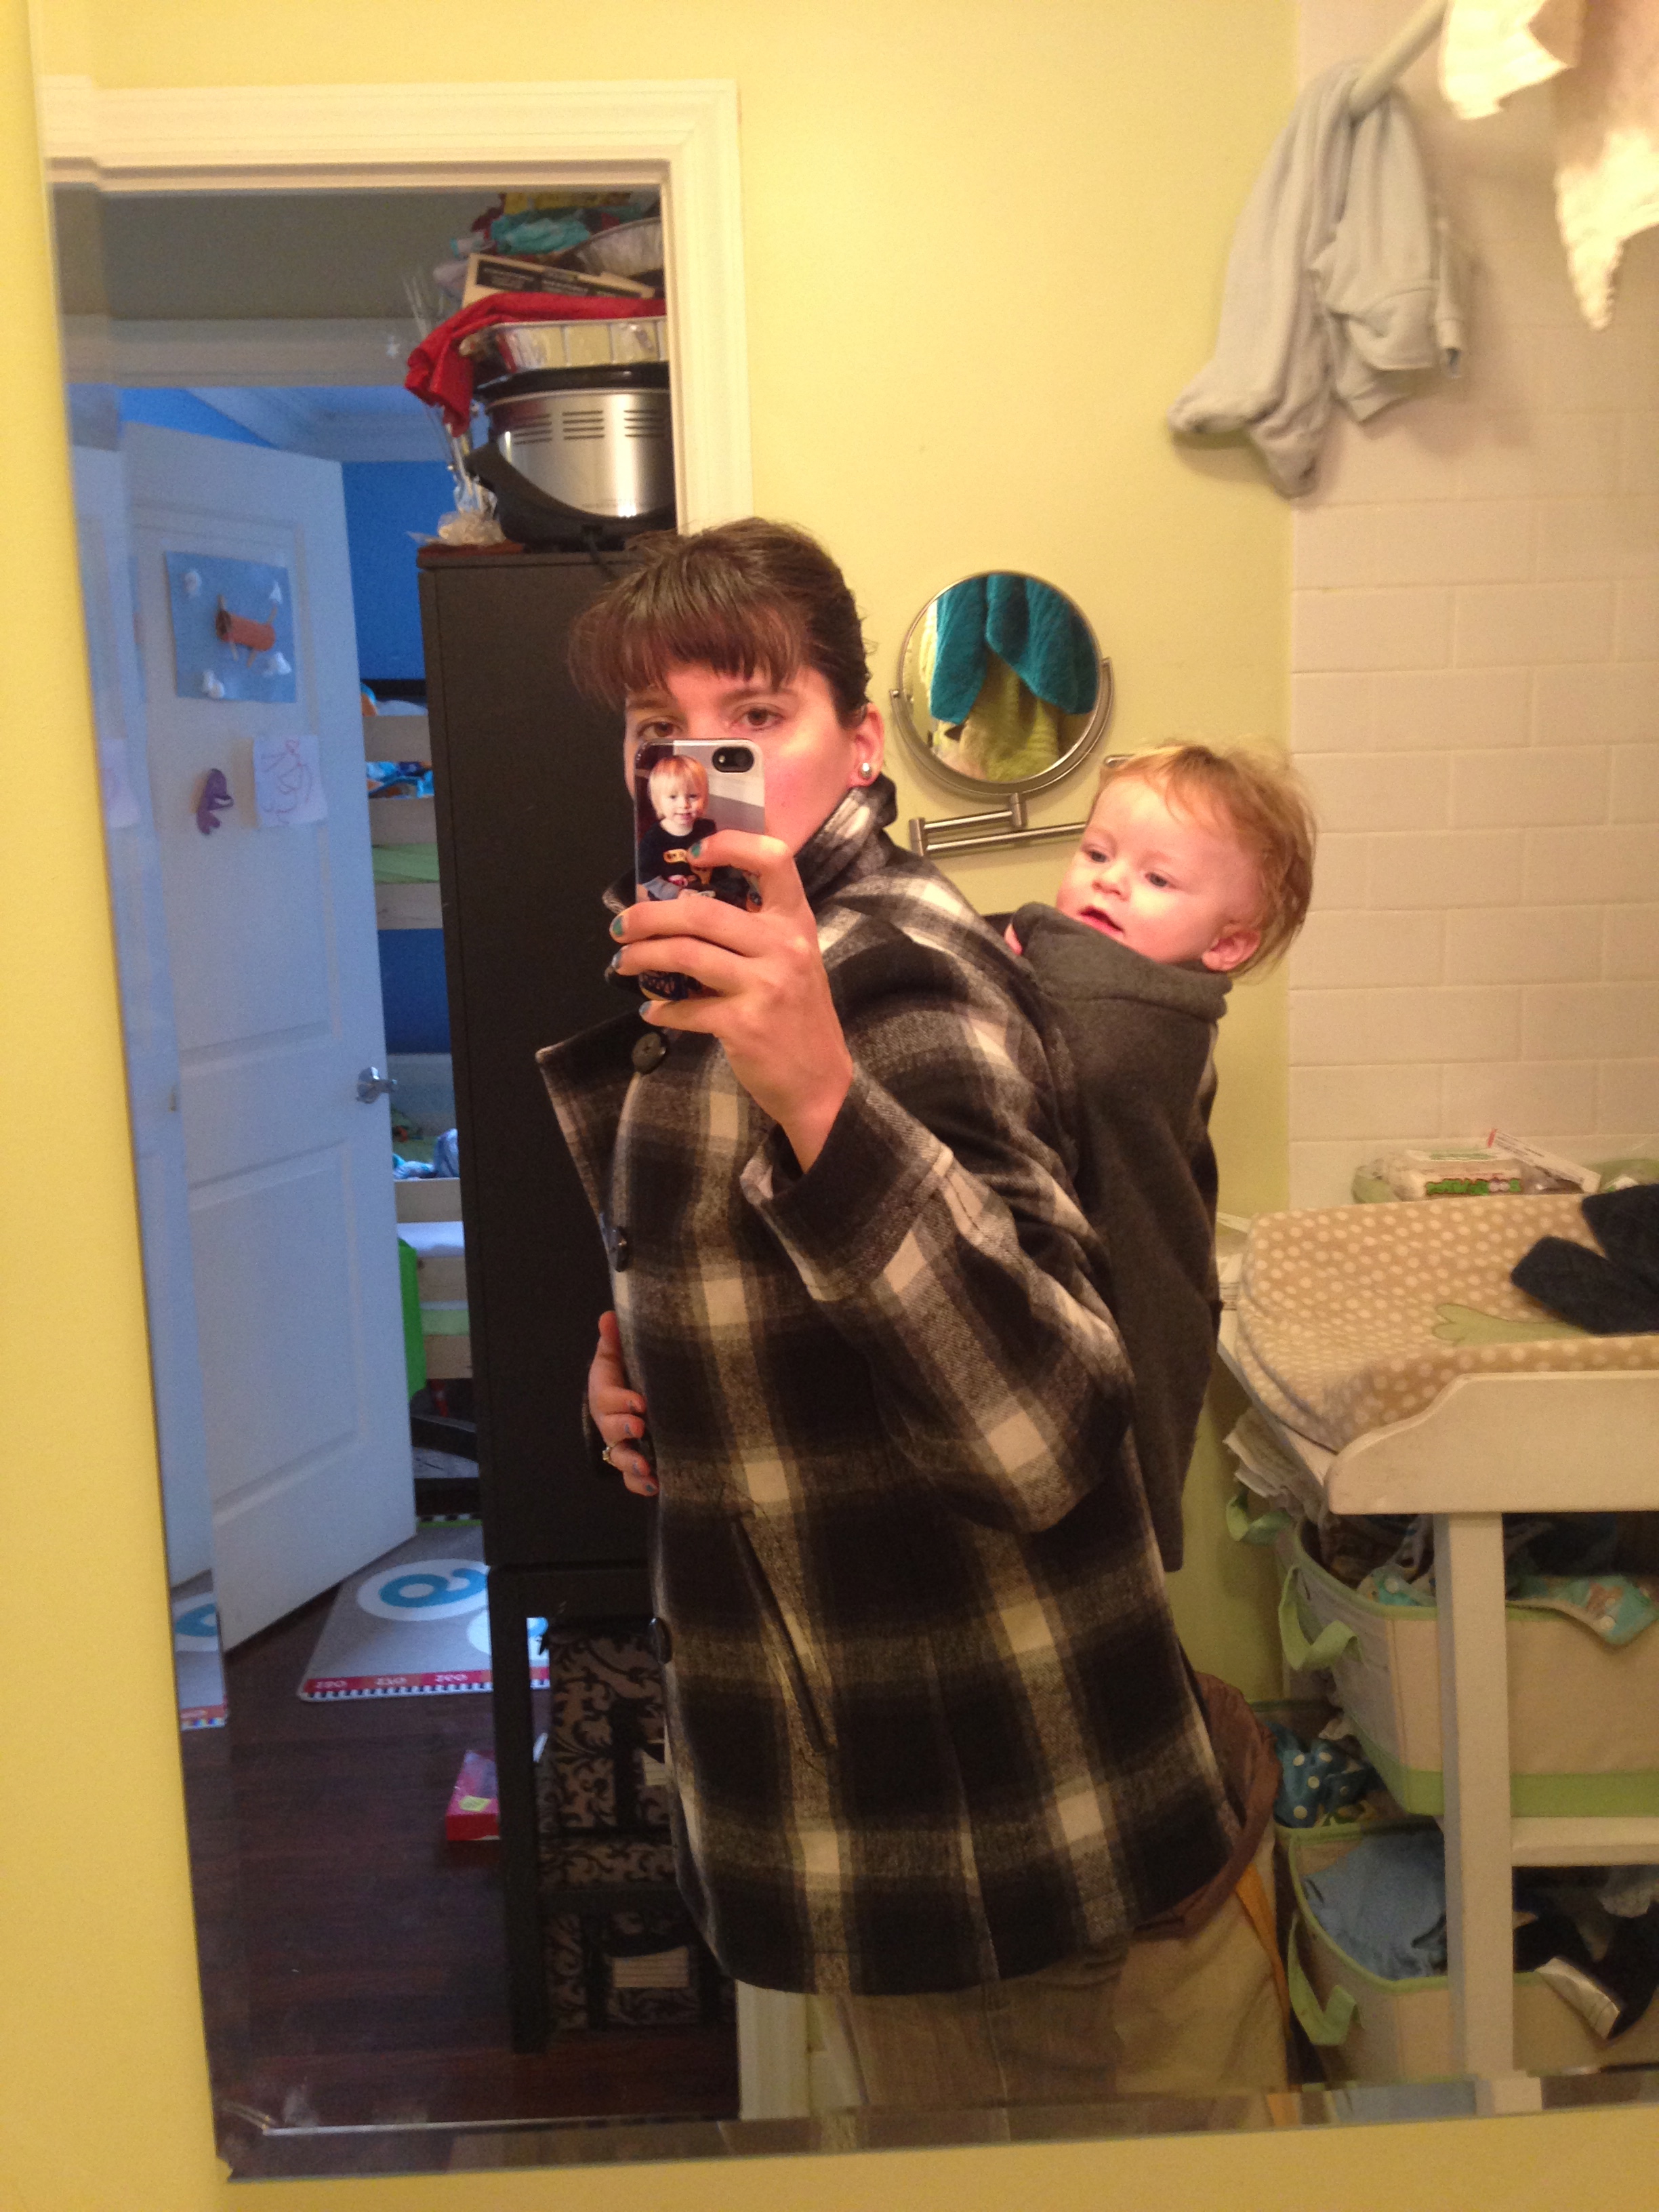
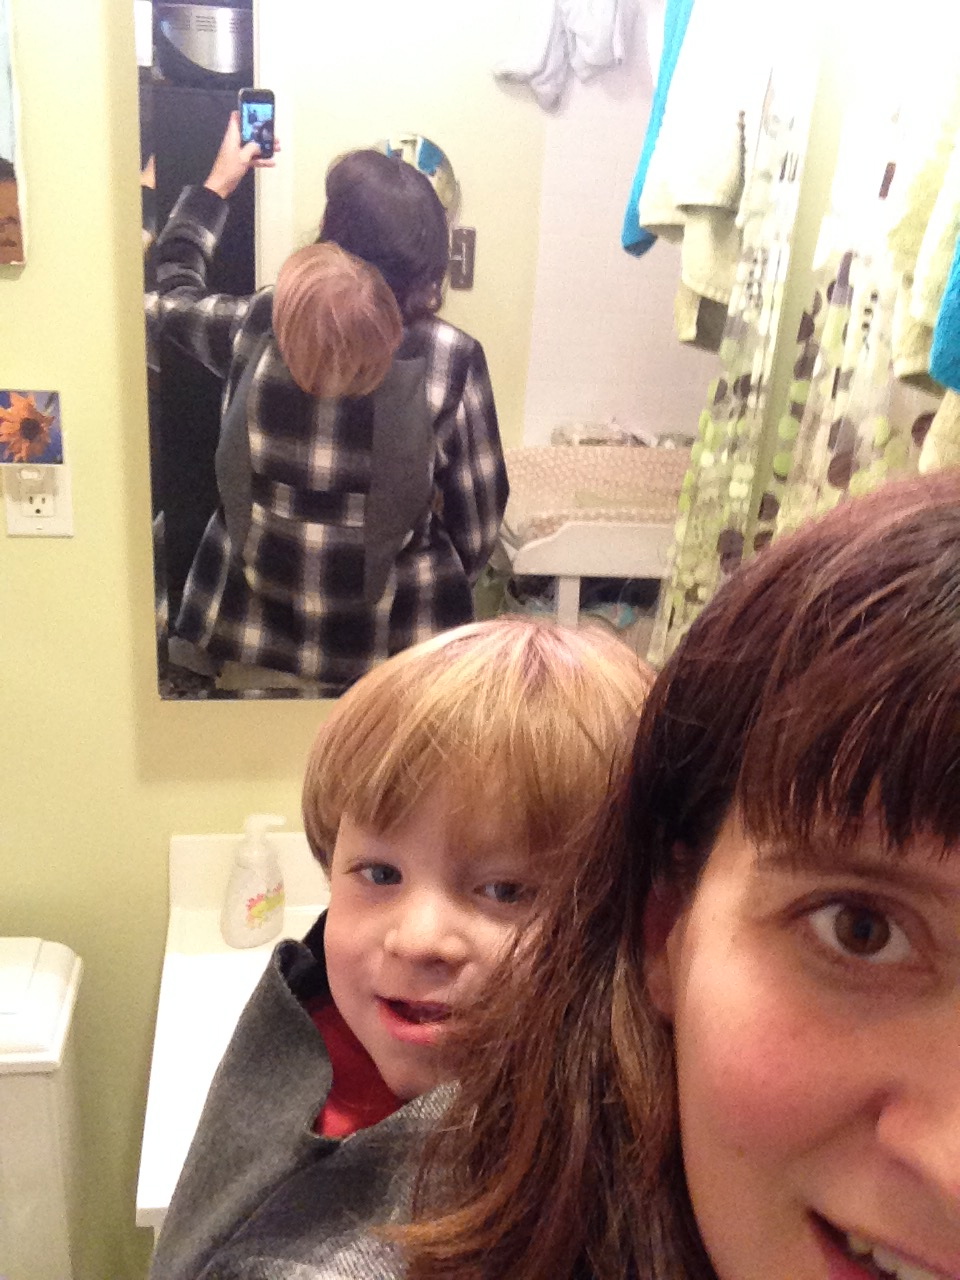
I thought this would be for Caleb only, but it turns out it works for Simon too. And they can ride arms out if they must although that defeats the purpose in my opinion.
 Happy babywearing!
**Update: I ended up sewing a row of snaps in the top to secure the pouch when no kid. I made one for a friend and used large buttons with elastic loops.
I will update if I get around to figuring out how to cinch the pouch closed to wear this without the baby. If your baby has sensitive skin you might want to sew fleece over the top of the coat for babywearing naps.
I am so impressed by this!! What a great idea.. and well done by you. I love it!!
Oh my gosh. I’m super impressed. And I want one. I prefer the back carry with Andy now that he’s blown past the 20# mark, but with winter settling in I find myself front-carrying far more because of the coat issue… I can’t probably justify an actual babywearing coat since we use the stroller a ton, but oh how I want one!!
Seriously if you have any skill with a sewing machine you could do it. If you wanted to make a back-carry fleece jacket you could get away with fusible tape or fabric glue since fleece doesn’t have to be hemmed.
I made a very similar coat a couple years back. One thing I did was put a casing at the top and run an elastic through it. That helped pull the warm coat material closer to my daughter and also it meant that I could wear the coat without a baby and while there was still a little opening it was much, much smaller. I love my babywearing coat, thanks for making this tutorial I’m going to bookmark this for when people ask how I made mine!
Ooh, I love the idea of elastic casing. What I ended up doing was a row of snaps to keep it closed.